
What does the "Export to PDF" functionality do?
The "Export to PDF" functionality converts the information from current view displayed in PDF file. The file exported can be opened in and printed in any compatibility application, like Adobe or other.
How can I export a project to PDF?
To export a project to PDF, click File - Export - Export to PDF.
How can I export a report to PDF?
To export a report to PDF, click the Report tab – Select the desires report – click Export – Select the location and the name for the report – Save.
Why is my exported PDF file unreadable?
The Export to PDF functionality takes into consideration the settings you made in Page Setup dialog. Set the Scaling option in Page Setup dialog to a bigger value. You can also use the Print dialog in order to see a real time preview of the changes you make to the print settings.
How do I print only the relevant data on the Gantt Chart view?
To print or export only the relevant data, first please change the view so it shows only the information that you want to print. You can filter data, hide columns or subtasks, you can sort the tasks or resources to highlight specific info. Then, go to menu File - Print - Print in order to print the active view of the current project. Select a printer and the desired settings and click Print.
I want to export my plan, but it keeps showing me an alert box saying "There is no email, you need to configure an email account to use this feature" after I choose any option in export to (pdf, image, mpp).
The message that you received should only appear if you don't have an email account set up and emails cannot be sent. This is not our implementation, we just ask the system if a mail can be sent and if the answer is Yes we then proceed with our implementation. Please check Settings - Contacts - Default account to make sure the correct account is set. Also, you need to make sure that you have the correct credentials in Mail app. We found a discussion thread about a similar issue, maybe it helps: https://discussions.apple.com/thread/4733175.
How can I export a project to PDF without using the Export functionality from Project Plan 365?
To export a project to PDF without using the Export functionality from Project Plan 365, choose to print your file to PDF format instead to send it directly to the printer.
How can I take a full screenshot of the Gantt Chart?
To take a full screenshot of the Gantt Chart view, you can export the entire view on one page. To achieve this, go to menu File – Print. Click on the Page Setup button and a dialog will open and you will see that there is the Scaling option. Check the option Fit to 1 pages wide by 1 tall. Then, go to menu File - Export - Export to PDF.
Can I convert a project exported as PDF back to a Project MPP file?
You can’t convert a project previously exported as PDF back to a Project MPP file. Remember that a PDF or XPS doc is just a snapshot of your project.
How to make a copy of the Gantt Chart view?
To make a copy of the Gantt Chart view, you can use the Export to PDF or Export to Image features located under menu File - Export.
I am preparing a Gantt chart for a 3-year studentship proposal and would like to be able to export a pdf of only the first 36 months of the Gantt. Is this possible?
You can achieve this by going to menu Project-Filter-Date Range and insert the dates. Then, go to menu File-Print-Page Setup and make the desired changes and after this export the file to PDF. The print functionality will generate a PDF file for you only with the tasks that are presented in the current Gantt Chart view.
What is Export schedule?
The export schedule is a functionality that converts a schedule from a format to another format than the one it is currently in.
How can I export to PDF only the tasks?
To export only the tasks, please use the Task Sheet view. Then, go to the File menu - Export - Export to PDF.
How do I change the PDF export view?
|
How can I export the .mpp file in a different format?
Our application allows you to export your .MPP files to Excel, PDF, Image, PowerPoint, XML, Dashbord and MPP.
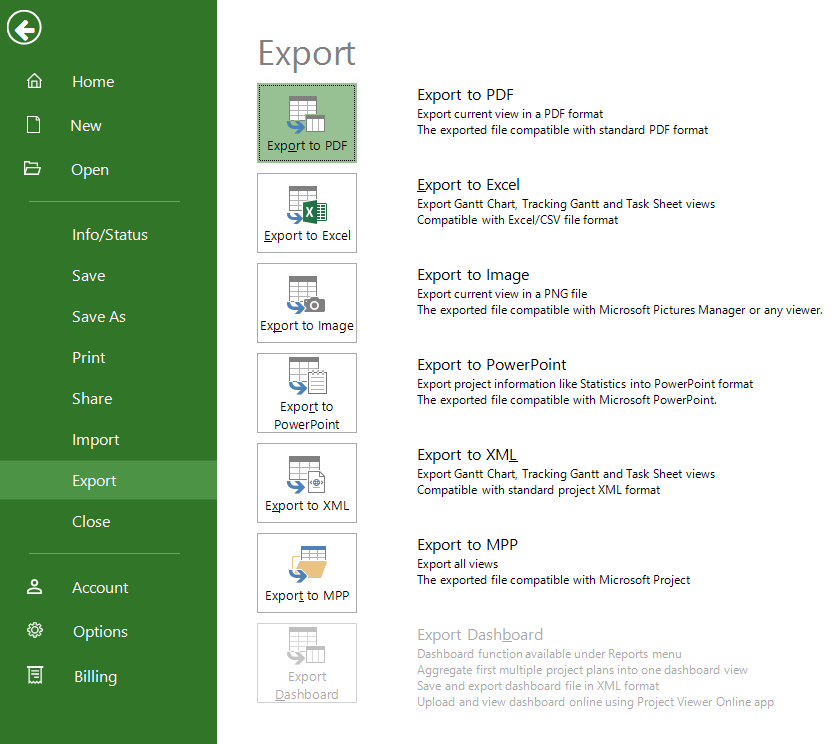
Step by step on how to export a project to PDF:
1. Open the desired project. Click File - Export. Select Export to PDF option, that will generate a PDF file of your current view.
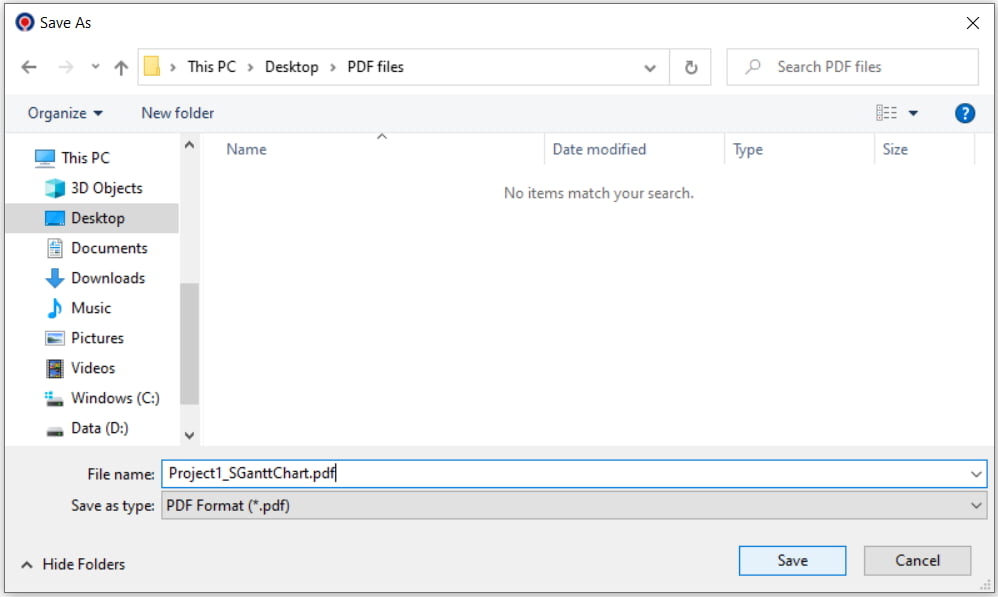
2. A dialog will be shown, that asks you for the location where the generated PDF file should be saved. Select the desired location and click on Save button.
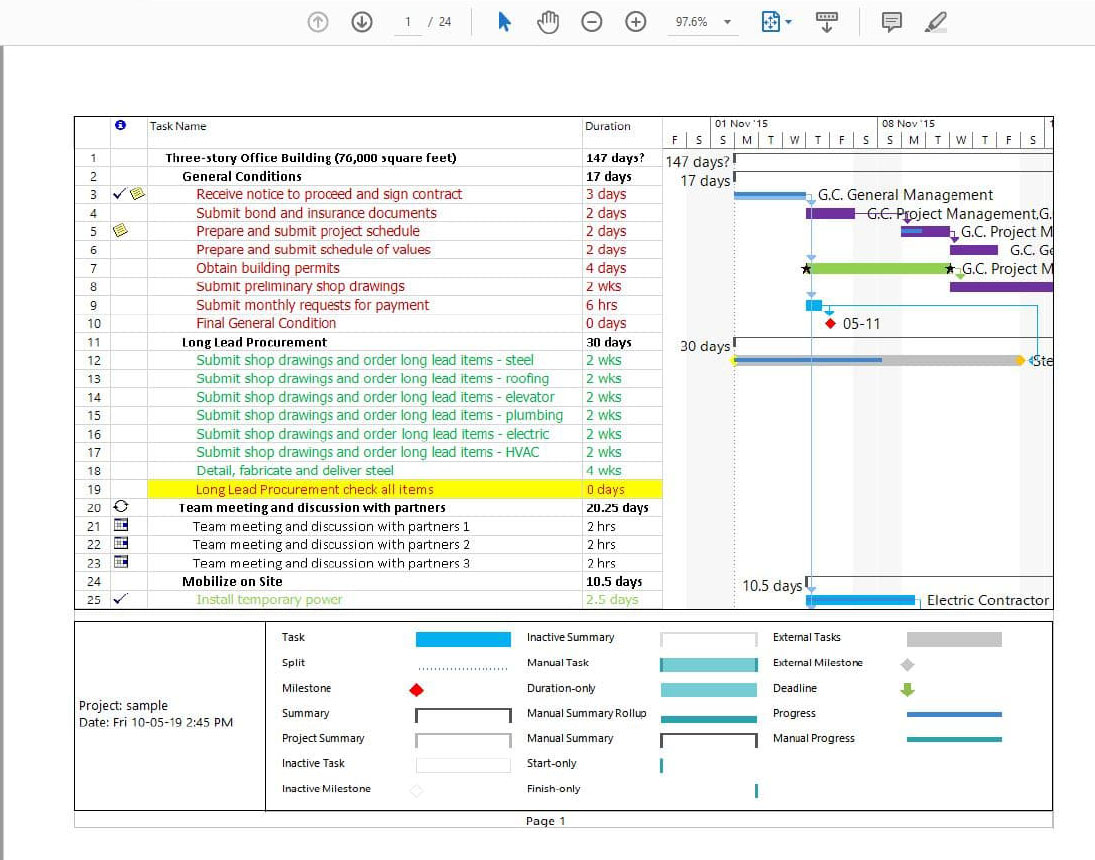
3. Now you can locate your PDF file and open it with any compatible application, like Adobe or other:
Step by step on how to Print to PDF format a project:
1. Make sure you have a PDF Printer installed and configured on your PC.
If you do not have a PDF Printer or you are not sure if you have one already installed, please follow the steps below.
There are plenty of free pdf printers, all you need to do is google for “free pdf printer” then configure and install it following the specific product instructions.
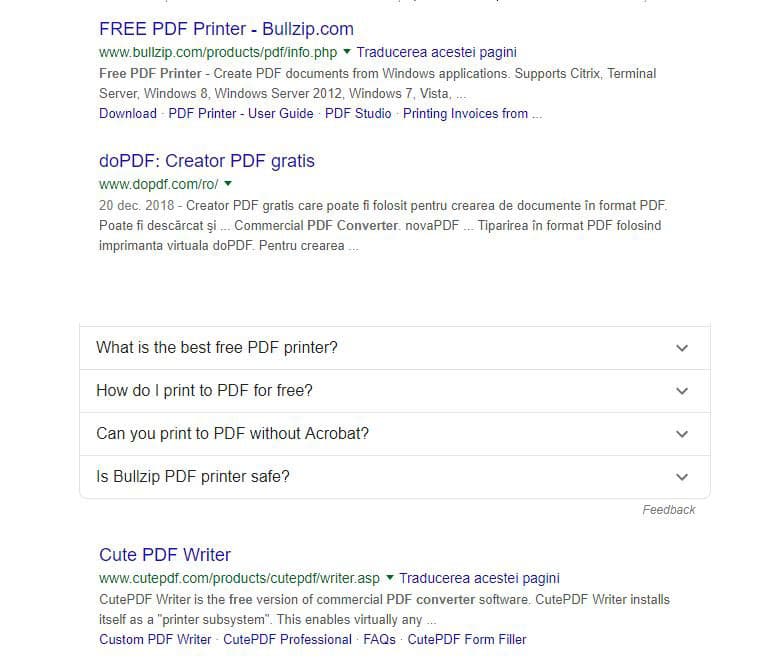
If you choose the Bullzip printer, you can go to link below to configure it then follow instructions on how to print to PDF from Project Plan 365.
http://www.bullzip.com/products/pdf/info.php
2. After you have configured your PDF printer, click File – Print – Print.
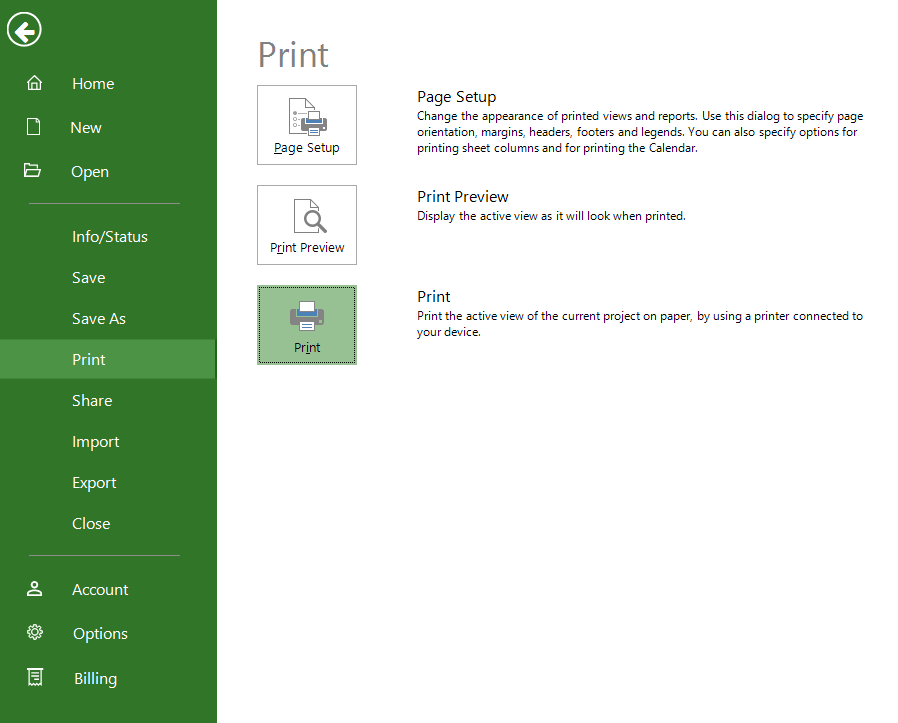
3. Select the PDF printer name. Adjust the options as desired and click OK. Select the desired location and name for the file and click Save.