
Before proceeding to create the schedule of your project, certain general settings for your project should be established. Of course, these options can be changed anytime during the planning phase of the project, but it is recommended being set from the beginning.
2.1 General Settings
The General Settings tab can be found under menu File-Options.
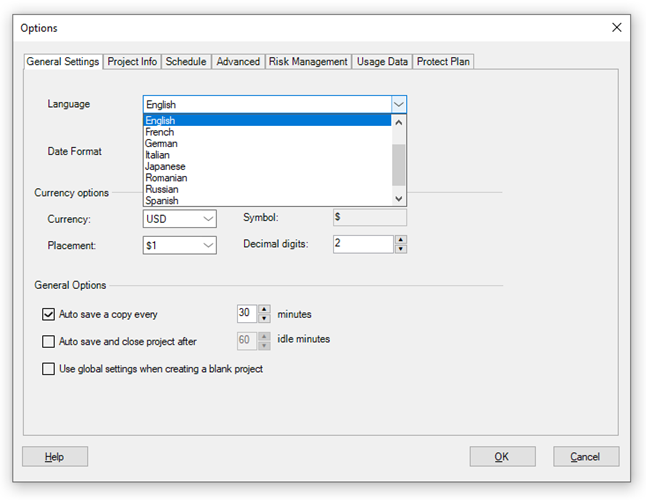
1. Language: using the Select Language option you can set the current language of the application. The Select Language option can be found under Format menu or in the General Settings section of Options dialog. Thus, you may change the active language of the application by selecting a language from the displayed combo box. Currently there are available the following languages: Chinese, Czech, Dutch, English, French, German, Italian, Japanese, Romanian, Russian, Spanish and Swedish. After you selected the preferred language, restart the application.
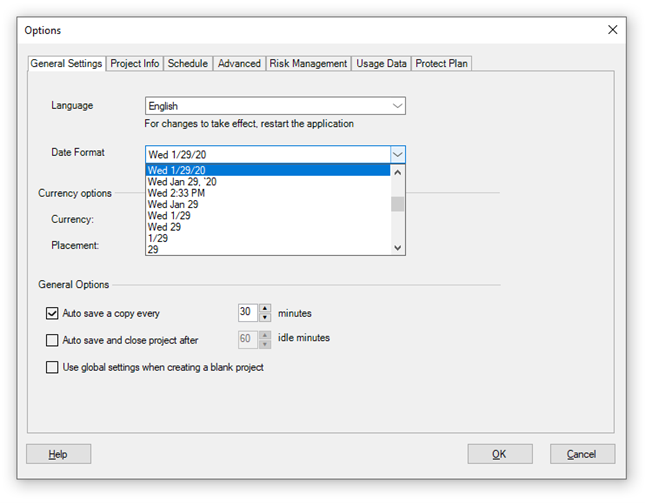
2. Date format: this option helps you to specify the order of day/month/year components of a date. Once a date format is selected, all the date values from your project will be displayed according to it. You can choose among various date formats. The default date format will be the one used by your system.
There are two types of Date Formats available in our application:
- The date formats that are based on the system date format. For example, if you enter a date as 2/3/03, this will be interpreted as either February 3rd, or March 2nd, depending on the system's regional setting for date formats;
- The standard date formats that aren’t based on the system date format. That means that they don’t change when the region of your machine is changed. These standard date formats are available on Windows, Mac and Web platforms.
This option can be set from the General Settings tab of Options dialog, which can be accessed from the File menu:
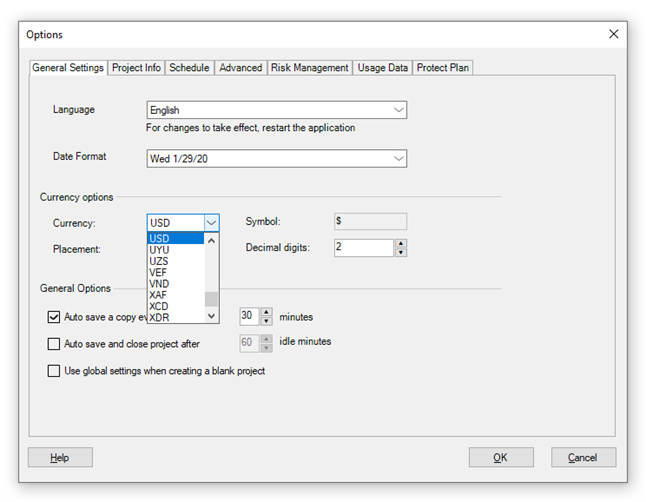
3. Currency: allows you to set different options (Currency name, Symbol, Decimal digits and Placement) for displaying the currency values in your project. This will have an impact on how cost values are shown in different views. In the drop-down list several currency names are available and according to it the symbol value is set. It can be found in the General Settings section of Options dialog.
From the Currency combo box, select the name of the currency that you want to use and the corresponding symbol will be automatically updated.
In the Placement box, select the position that you want the currency symbol to occupy.
In the Decimal digits box, select the number of digits after the decimal that you want to display.
4. Auto save a copy every X minutes: The Auto Save functionality saves a copy of your file automatically at a given time. This option helps you protect your files in case of a crash. To avoid losing all your work in case of a crash, make sure the AutoSave option is turned on.
To activate the Auto Save functionality, go to File - Options - General Settings tab - General Options section. Make sure the "Autosave a copy every x minutes" box is selected.
Important!
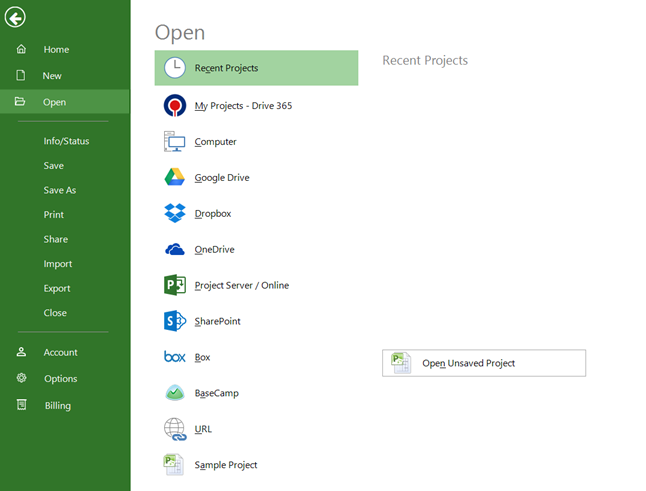
We recommend to manually save your file every 15 minutes by going to menu File-Save. The Auto Save feature will not overwrite your file, in case of a crash you can recover your file by going to menu File-Open-Open Unsaved Project.
2.2 Project Info
The Project Info tab can be found under menu File-Options.
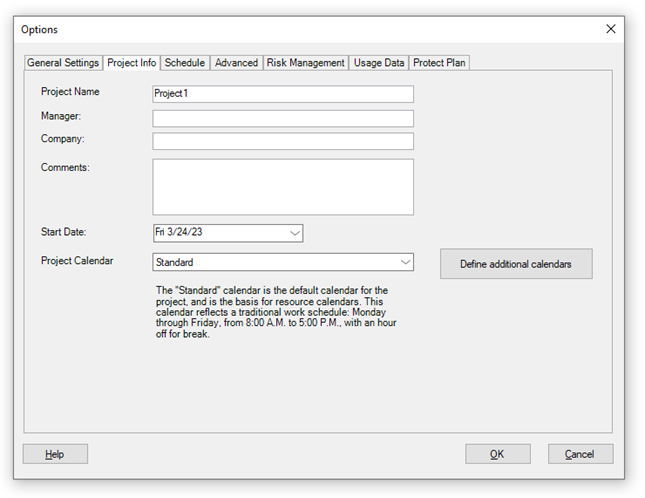
- Project Name - specifies the project title.
- Manager- specifies the manager name.
- Company - specifies the name of company.
- Start Date - From date picker select start date for current project. The application calculates the project finish date based on your entered start date and assigns the default constraint of As Soon As Possible (ASAP). Task durations, dependencies, constraints, and other scheduling factors are also scheduled from the start date. By default, the project start date is set to the current date.
- Project Calendar - The Project Calendar field specifies the base calendar that will be used for the project. The project calendar is used to calculate working times for the project in order to help the Project Manager to build the schedule. The project calendar is used to calculate the duration of summary tasks and lead time and lag time on task dependencies, especially when no resources are assigned. The default calendar used in Project Plan 365 is the standard one, that assumes that a people work from Monday through Friday, 8 A.M. to 5 P.M. However, from the Project Info section of Options dialog you can change this and choose among two other options: Night Shift and 24 Hours.

"Define additional calendars" button will open the Change Working Time dialog. For more information about the Change Working Time, please read the following article: Project Calendar
2.3 Schedule
The Schedule tab can be found under menu File-Options.
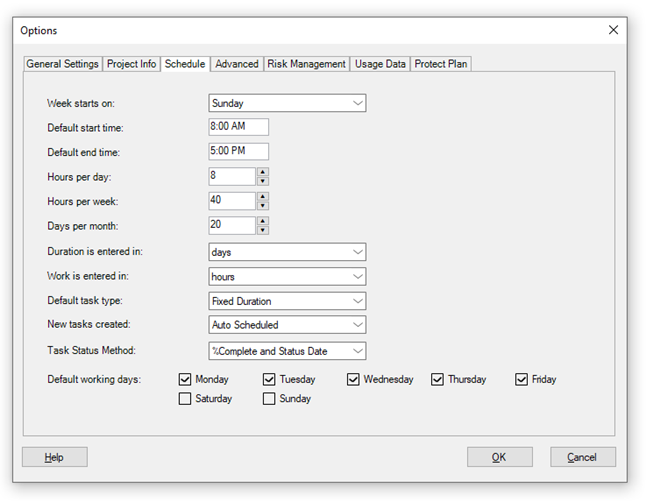
- Week starts on - specifies the first day of the week
- Default start time - specifies the start time for a working day
- Default end time - specifies the end time for a working day
- Hours per day - specifies the total working hours per day
- Hour per week - specifies the total working hours per week
- Days per month - specifies the total working days per month
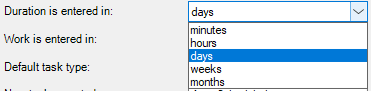
- Duration is entered in
To change the duration unit, expand the “Duration is entered in” dropdown and select the desired unit. The following units are available: minutes, hours, days, weeks, months.
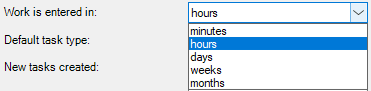
- Work is entered in
To change the work unit, expand the “Work is entered in” dropdown and select the desired unit. The following units are available: minutes, hours, days, weeks, months.
- Default task type - specifies the default task type: Fixed Units, Fixed Duration, Fixed Work. For more information about Task Type, please read the following article: Set Task Type

- New tasks created - specifies the default task mode for your new created tasks: Manually Scheduled or Auto Scheduled.

- Task Status Method – specifies which method is used to return the status of a task or the entire project depending on '% Complete and Status Date' or 'Deadline and Max Cost'.

- Default working days - specifies the default working days.

2.4 Advanced
The Advanced tab can be found under menu File-Options.
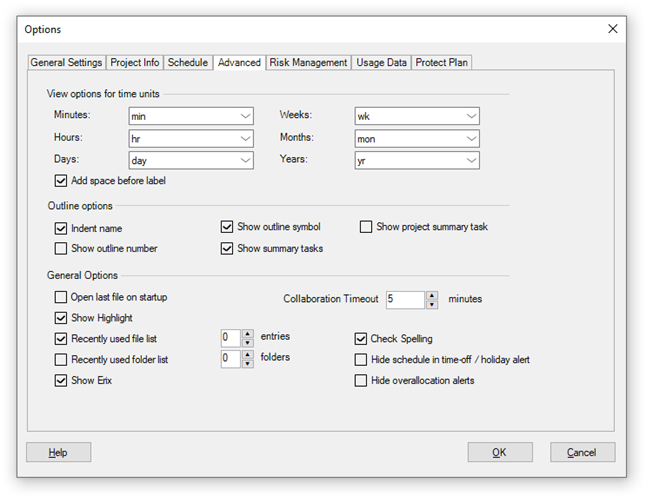
View options for time units
You can specify the abbreviations for time units. The available abbreviations are:
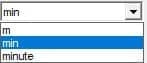
For minutes: m, min, minute.
For hours: h, hr, hour.

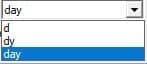
For days: d, dy, day
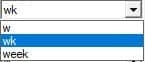
For weeks: w, wk, week.
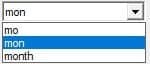
For months: mo, mon, month.
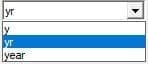
For years: y, yr, year.
- Add space before label - This option adds/removes a space between the number and the unit.
Outline Options
- Indent name
- Show outline number -adds the outline number in the Task Name columns
- Show outline symbol
- Show summary tasks
- Show Project Summary task - when checking this option, the project summary task from your project is displayed. The project summary task summarizes the duration, work, and costs of all tasks in a project. The project summary task appears at the top of the project, its ID number is 0 and it presents the project's timeline from start to finish.
General Options
- Open last file on startup
- Show Highlight
- Recently used file list
- Collaboration Timeout
- Check Spelling
- Show Erix
 Practice
1. Open Project Plan 365 application, which is available HERE.
For any questions and for contact purpose submit a ticket to our Support Team.
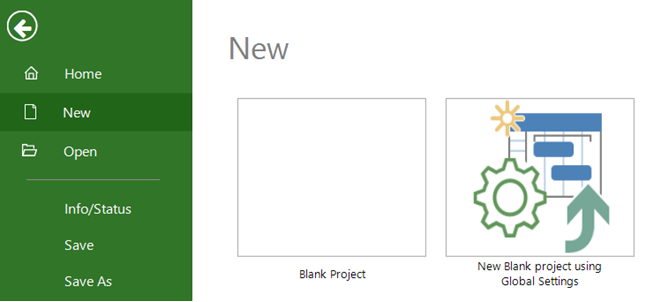
2. Head to the File backstage menu and from there choose New, and then click on Blank Project option, to create a blank project.
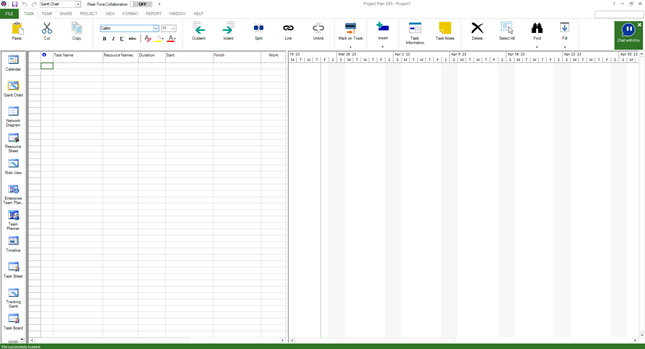
3. Once doing this, you will notice that a blank project appears, which is displayed on the Gantt Chart view.
4. Notice that also in the New menu, you may find some project templates, especially useful if you don’t have on hand a project plan and you want to get a base from where to start.
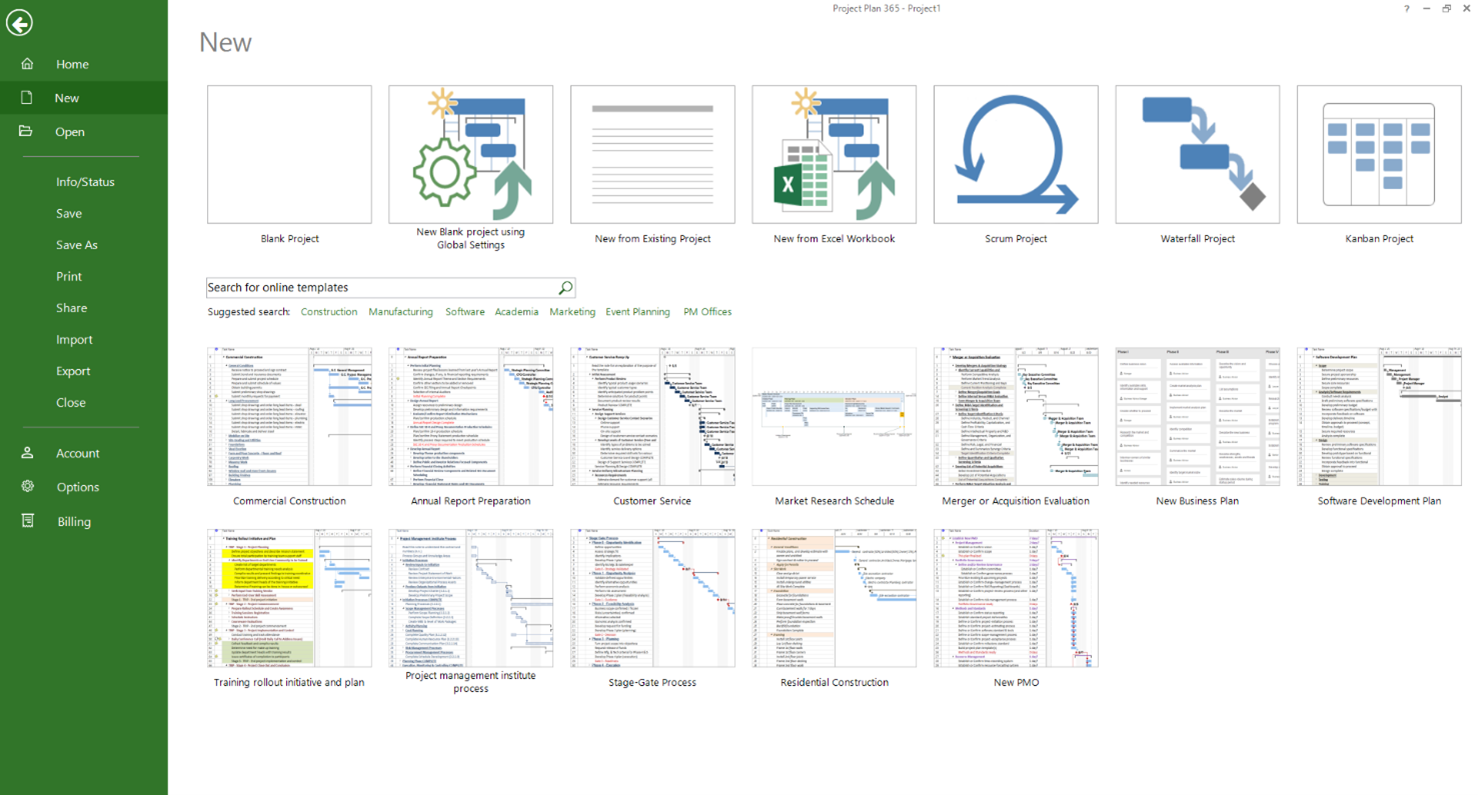
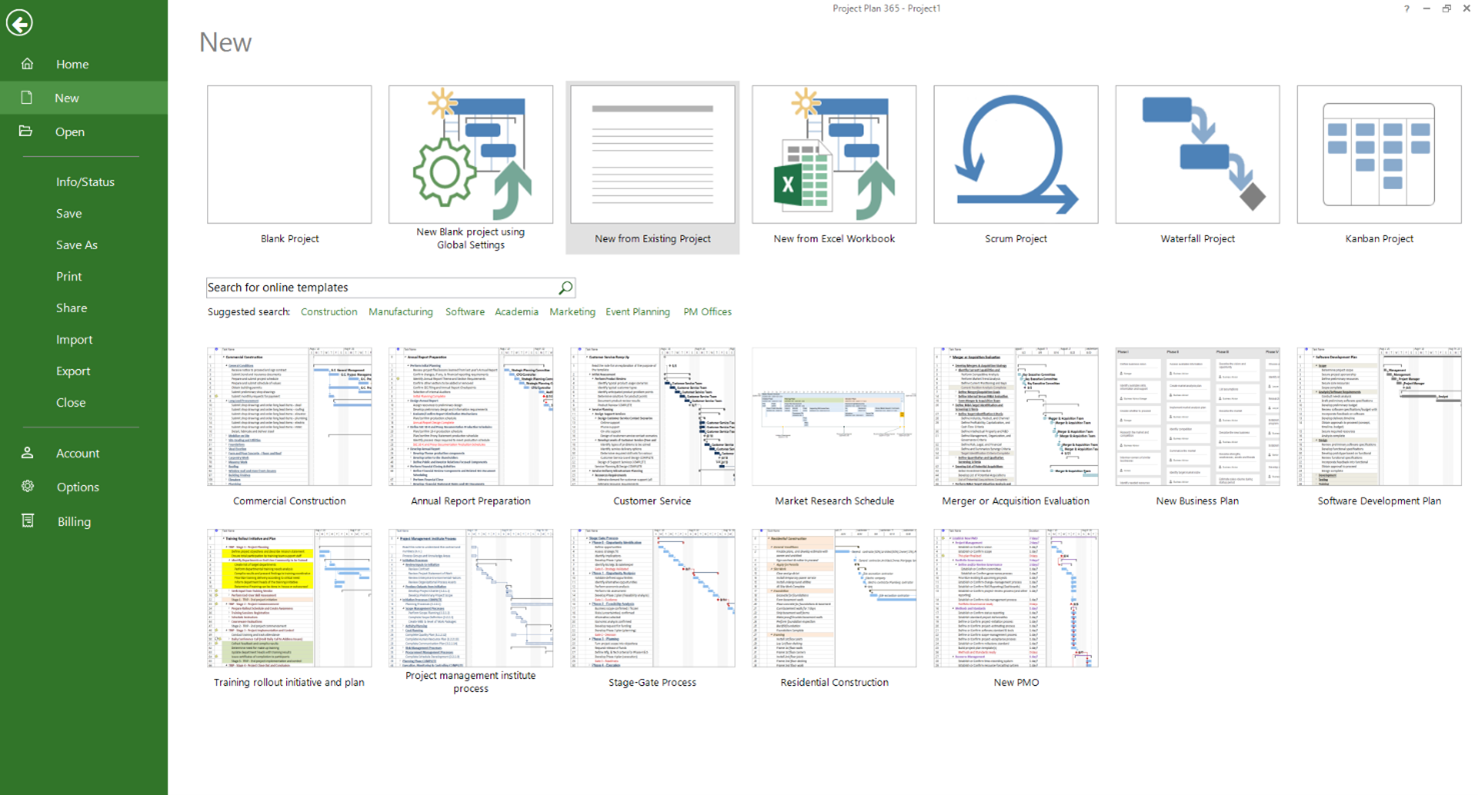
5. Another possibility is to use the New from existing project option, also located in the New menu, which is useful if you need to start a plan based on an existing project.
6. From the Options dialog, available under File - Options menu, indicate English as the current language of the application., which is the default language.
7. Also by using Options dialog, select USD as the currency name, which is the default value for currency.
8. From the same General Settings tab, select a date format which also shows the day of the week.
9.In the same General Settings tab, enable the Auto Save option and specify that the project plan file to be regularly saved at every 30 minutes.
10. In Project Info tab, insert the name of your project in the Project Name field.
11. In Project Info tab, Set the Start Date of your project to the current date.
12. Note that the default Project Calendar is the Standard calendar.
13. In Schedule tab, notice what are the default values for a new blank project.
 Video
Video
If you prefer to see things in action, rather than reading text, watch out this video, which covers some of the topics from this section.