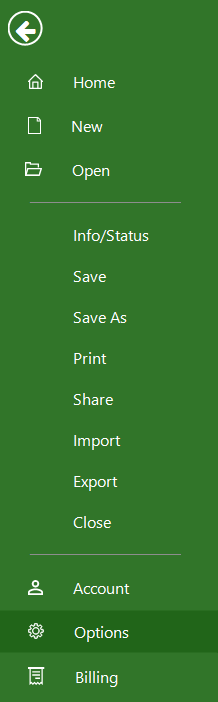
What does the “File Properties” functionality do?
The “File Properties” functionality helps you organize and finding your project easier by entering file properties for them, such as a descriptive title, a subject, a project manager, or a comment.
How do I change the file properties for a project within the application?
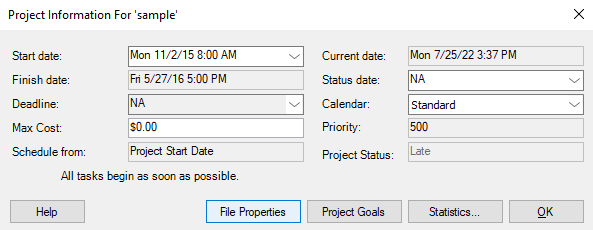
To change the files properties for a project within the application, click on File – Info – Project Information – File Properties.
How can I change the name of the project?
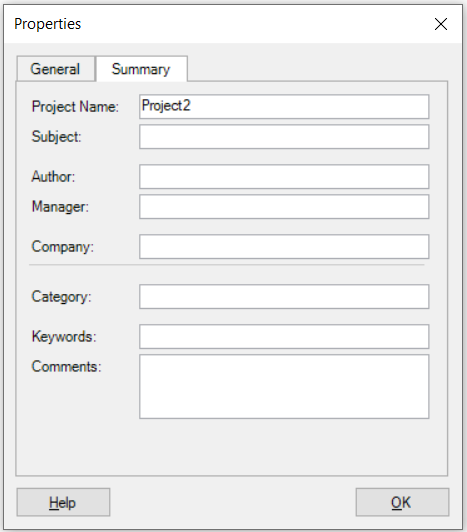
You can change the name of the project by going to the File menu – Info – Project Information, and clicking on File Properties button from Project Information dialog. On the Summary tab, in the Project Name field, type the new name of the project and click OK.
How can I set the project name to appear in my file?
After you changed the name of the project, you are able to see it in your file by going to the File menu – Options. In the “Options” dialog click on the “Advanced” tab and check the “Show Project Summary Task” checkbox and then click “OK”.
Where I can find the Advanced Properties dialog?
In order to find the File Properties dialog, go to the File menu - Info - Project Information and select File Properties.
How can I change the manager name?
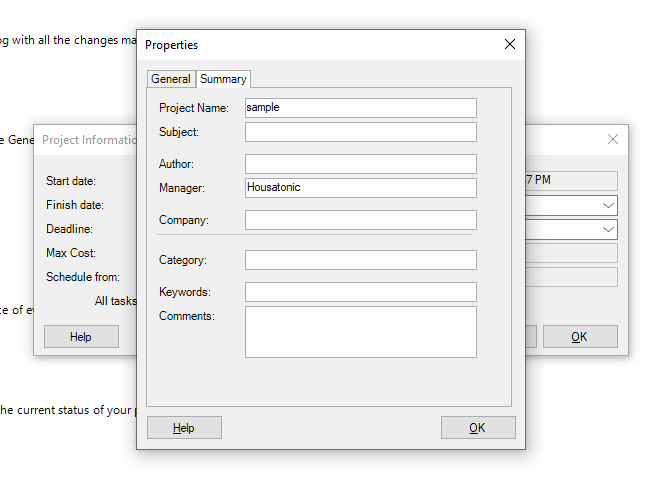
In order to change the manager name, open the project file and then go to the File menu - Info - Project Information and click File Proprieties button. In the Summary tab, change the name of the Manager and then click OK.
How can I change the author of the project?
In order to change the Author name, open the project file and then go to the File menu - Info - Project Information and click File Proprieties button. In the Summary tab, change the name of the Author and then click OK.
What does the “Help” button inside the “Properties” dialog do?
The “Help” button inside the “Properties” dialog redirects us to the “File Properties” article in our Online Help page.
Step by step on how to change the name of the project:
1. Go to the File menu.

2. Click Info.
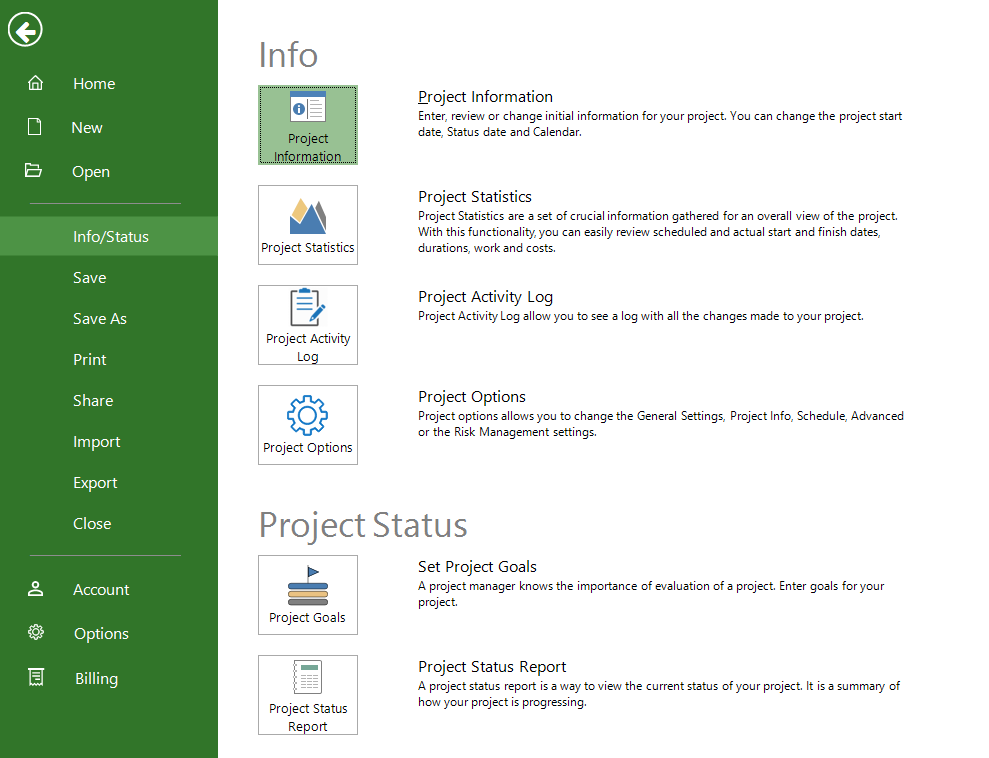
3. Click Project Information and then click File Properties button in Project Information dialog.
4. On the Summary tab, type the name of the project, in Project Name field.
5. Click OK.
Step by step on how to set the project name to appear in the file:
1. Go to the File menu.
2. Click on Options.
3. Click on Advanced tab and check “Show project summary task” checkbox.
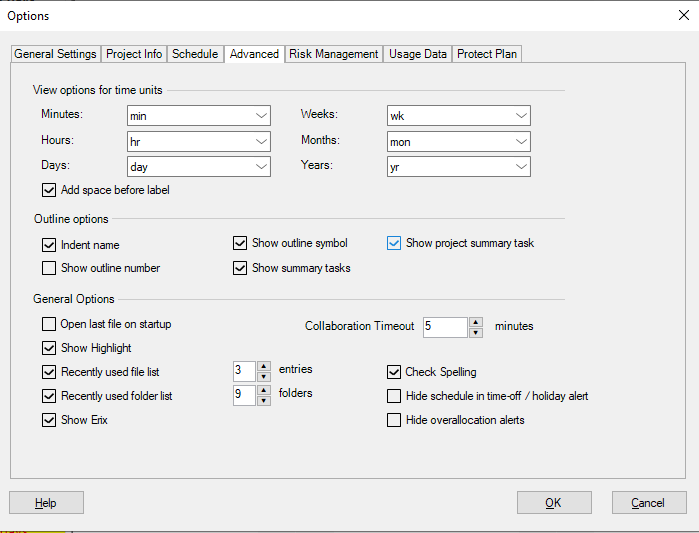
4. Click OK.
General Tab
The general tab specifies the project name and other file attributes, such as file type, file size, and file location, MS-DOS name for the file, the dates and times when the file was created, most recently modified, and accessed.
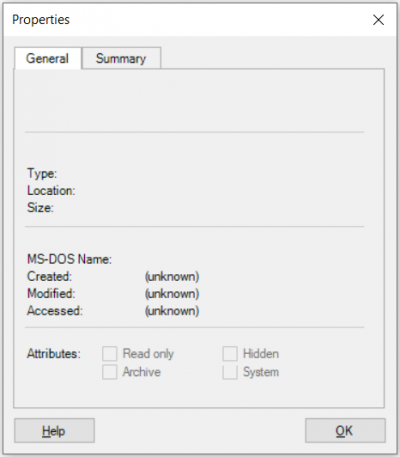
Summary Tab
The Summary Tab specifies the project title, subject, author, company name, manager, category, keywords, and comments.