
AI Status Report

Online Help > AI Status Report

What is AI Status Report?

AI Status Report is an AI-powered feature that turns your project data into a clear, easy-to-read status update, generated by the AI-powered Erix Agent. It helps you quickly understand progress, delays, completed work, active work, and next actions without checking everything manually.

How do I access AI Status Report?

To access the AI Status Report open the desired project and go to menu Report - AI Status Report.

How do I generate an AI Status Report?

To generate an AI Status Report, follow the steps below:

  1. Open a project and go to menu Report - AI Status Report.
  2. In the Generate a status report with AI panel, choose the reporting period and report sections, or leave the defaults. Optionally, click Show more options to set the report length or add additional instructions.
  3. Click Generate report and wait while the report is generated. This could take a few minutes.
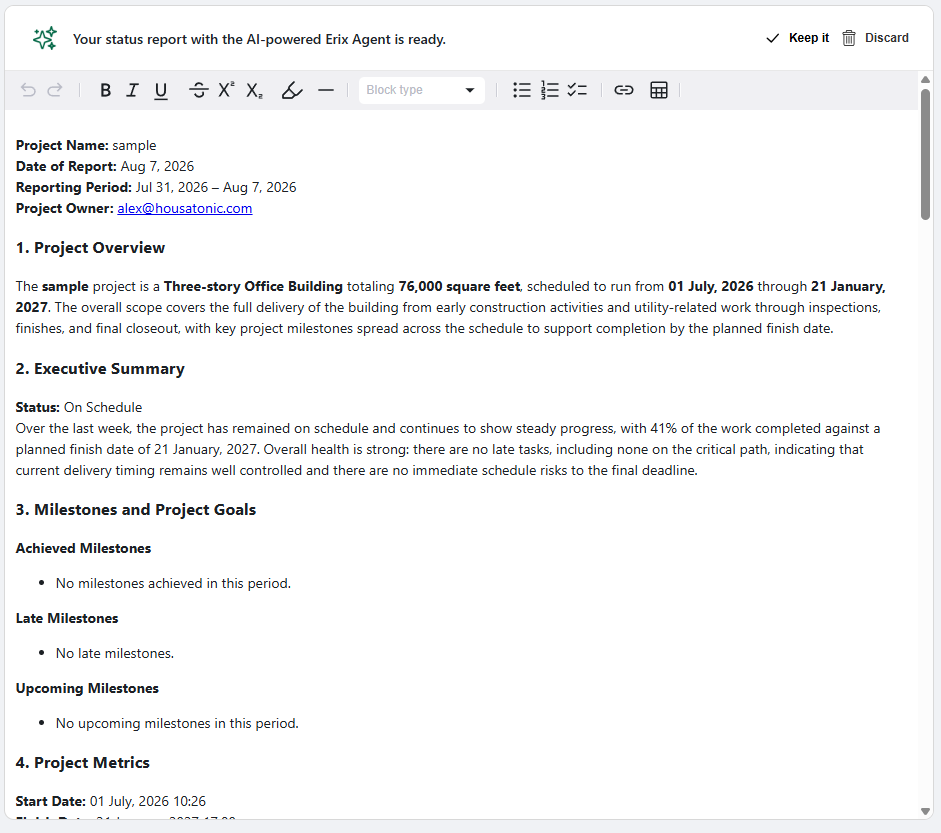
  4. Review the generated report and edit it if needed.
  5. Click Keep report to save it, or Discard to discard it.

What information does an AI Status Report include?

An AI Status Report can include the following sections:

  • Project Overview — explains what the project is about, based on the project name, start and finish dates, goals, milestones, and main summary tasks.
  • Executive Summary — a short, high-level view of the project's status and overall health.
  • Milestones and Project Goals — lists late, achieved, and upcoming milestones and project goals.
  • Project Metrics — a data-based view of the project's schedule, work, cost, and earned value, where available.
  • Resource Overview — how resources are used, including workload, availability, and possible capacity issues.
  • Highlights and Completed Work — a summary of the main work completed during the selected reporting period.
  • Challenges and Delays — the main problems affecting the project, based on late tasks, critical path, assignments, dates, and progress.
  • Work In Progress — the tasks currently being worked on.
  • Upcoming Actions — upcoming tasks and unresolved late items that need attention next.

How to choose which sections appear in the report?

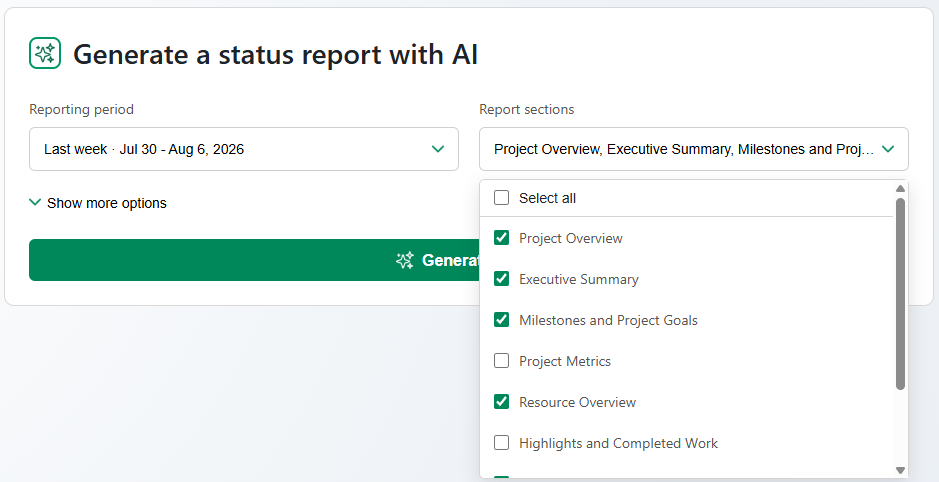
To choose which section appear in the report, open the Report sections selector, check which sections should be included in the report and uncheck the ones you do not need.

What reporting periods are available?

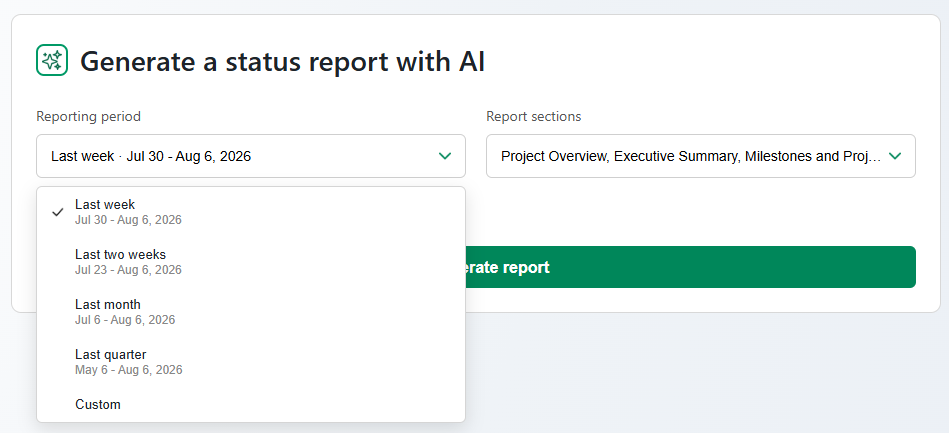
The available reporting periods are: Last week, Last two weeks, Last month, Last quarter, and Custom Date Range, where you pick your own start and finish dates. The default reporting period is Last week.

What report lengths are available?

The available report lengths are Concise, Standard, and Detailed. The report length is set under Show more options, before generating the report.

Can I give additional instructions to customize the report?

The Additional instructions field, found under Show more options, lets you ask the AI to, for example:

  • Translate the report into another language.
  • Adjust the tone, for example make it more brief.
  • Change formatting, for example replace tables with bulleted lists.
  • Add a new section, such as a list of tasks for a specific resource, or a “Risks to Watch” list.

Can I edit the generated report?

Before keeping it, the generated report can be edited directly: headers and text, tables (add or delete rows and columns, change alignment), and lists. Use the format bar at the top of the report to apply font and text styles.

How to save an AI Status Report?

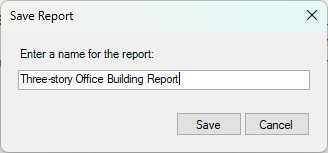
To save an AI Status Report, click on the Keep It button in the top-right corner of the generated report - type in a name and click Yes.

Where can I find my previously generated reports?

Recently generated reports appear under Recent reports below the Generate report form. Click View All to see every report you've created. Click the refresh icon to load your latest reports.

What can I do with a report from the Recent or All Reports list?

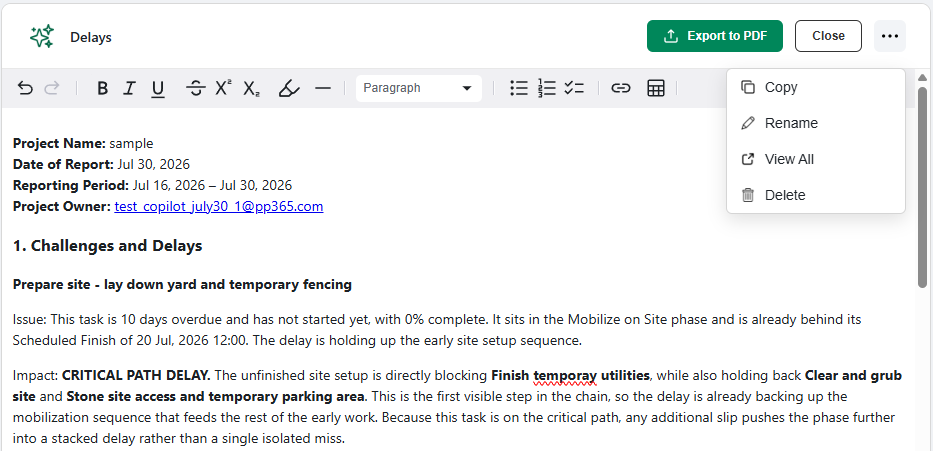
Opening the context menu (the three dots) next to a report gives you the following options:

  • Open the report.
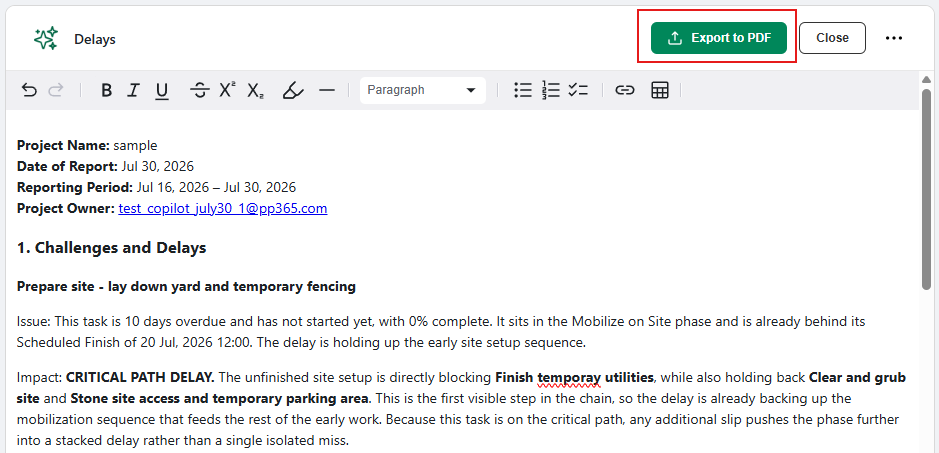
  • Export to PDF — opens the save dialog.
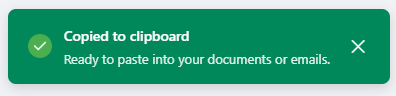
  • Copy — copies the report with its formatting, so you can paste it, for example into an email.
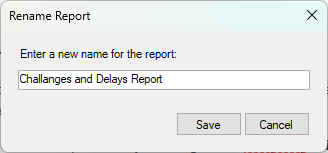
  • Rename the report.
  • Delete the report.

If you close a report that has unsaved changes, you're prompted before you're taken back to the main view.

Can I schedule an AI Status Report to be sent to my team?

To schedule an AI Status Report, go to menu Report - Scheduled Reports and click Add Scheduled Report. Select AI Status Report as the report type, choose the project, delivery email, frequency, and preferred delivery time, then make sure Report Schedule is Enabled is checked. Click Ok for the report to be scheduled.

What happens when an AI Status Report scheduled report is sent?

When an AI Status Report scheduled report is sent, recipients receive an email containing the report. The email includes “Click here to update plan” button, which opens the project in Project Plan 365.

Is there a limit on how many reports I can generate?

There is a daily generation limit per account for AI Status Report. If you reach it, you'll see a message the next time you try to generate a report.

Can read-only users use AI Status Report?

Read-only users can open the AI Status Report view and see the All Reports list. They can open and view a report, but can't edit it, and Open is the only report action available to them.

On what platforms is AI Status Report available?

AI Status Report is available on the Windows platform in the Project Plan 365 from Microsoft Store app.

Step by step on how to generate an AI Status Report:

1. Open Project Plan 365 and open a project.

2. Go to menu Report - AI Status Report.
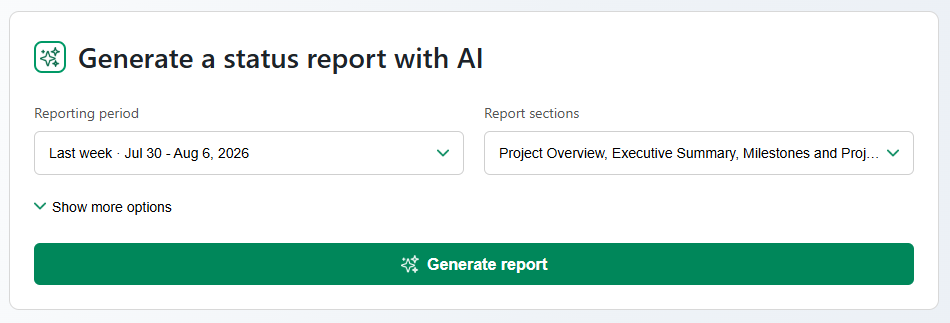
3. In the Generate a status report with AI panel, choose the reporting period and report sections, or leave the defaults.

4. Click Generate report.

5. Review the generated report.
6. Click Keep it – type in a name and click Yes to save the report.

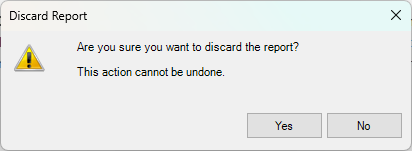
7. Or Discard - Yes to discard it.

Step by step on how to configure report period, sections and length:

1. Open the AI Status Report panel. The Reporting period and Report sections selectors are shown directly in the panel.

2. Click Reporting period and choose the timeframe the report should focus on (Last week, Last two weeks, Last month, Last quarter, or Custom Date Range).
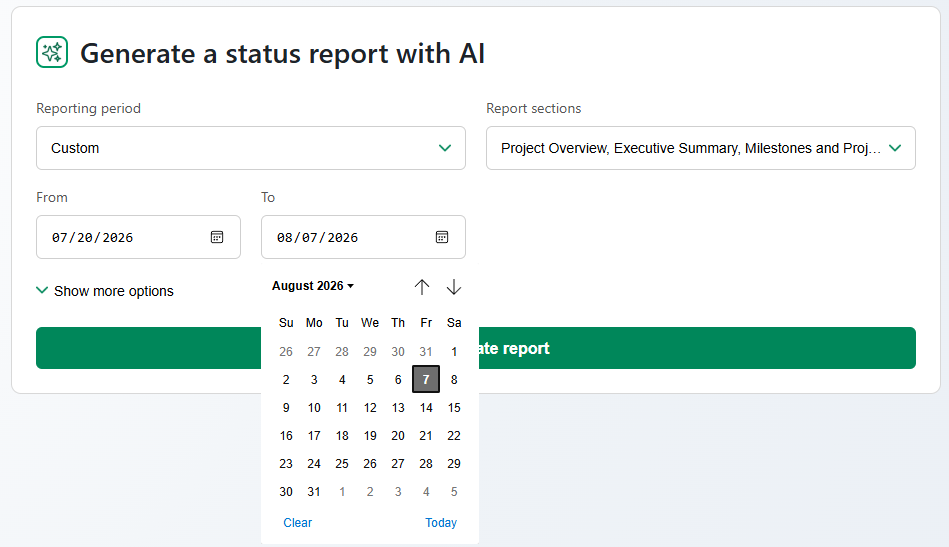
3. If you chose Custom Date Range, select a start and finish date.
4. Click Report sections and select exactly which sections should be generated.
5. Click Show more options to reveal the report length and additional instructions field.

6. Choose the report length: Concise, Standard, or Detailed.
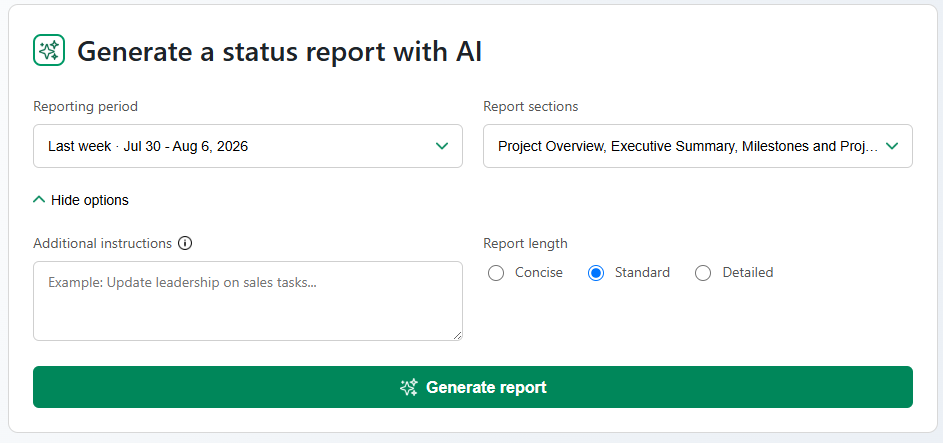
7. Optionally, write additional instructions.
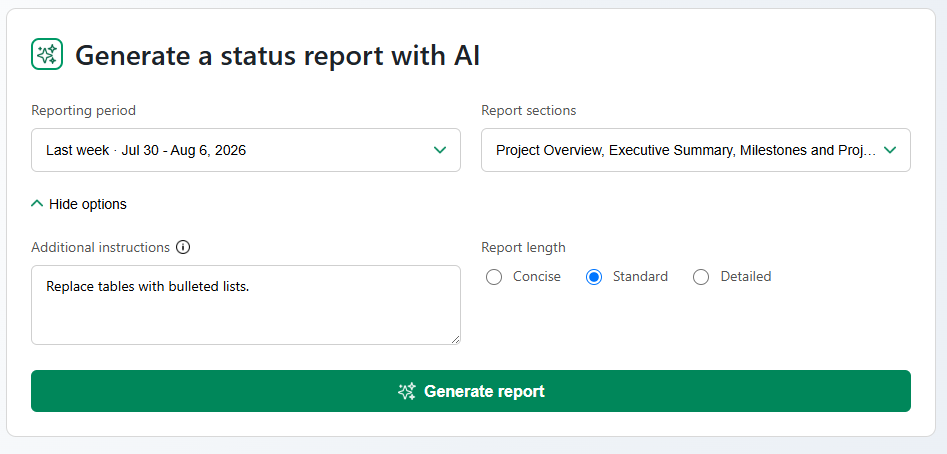
8. Click Generate report.

Step by step on how to view and manage recent reports:

1. Open the desired project and go to menu Report - AI Status Report.

2. Reports you've generated before appear under Recent reports.
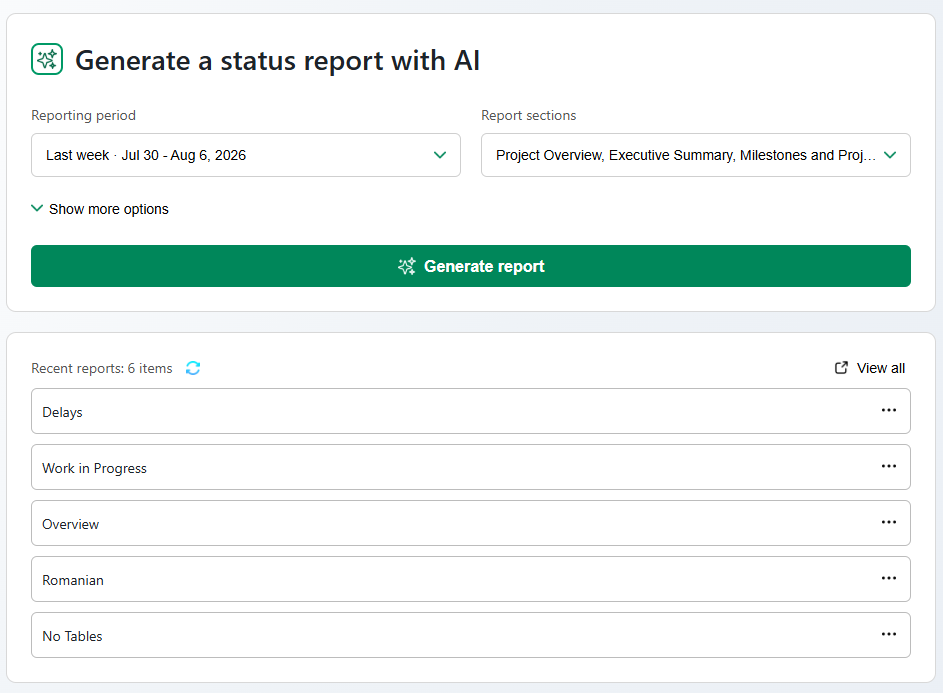
3. Click the refresh icon to load your latest reports.

4. Click View All to see all the reports you've created.
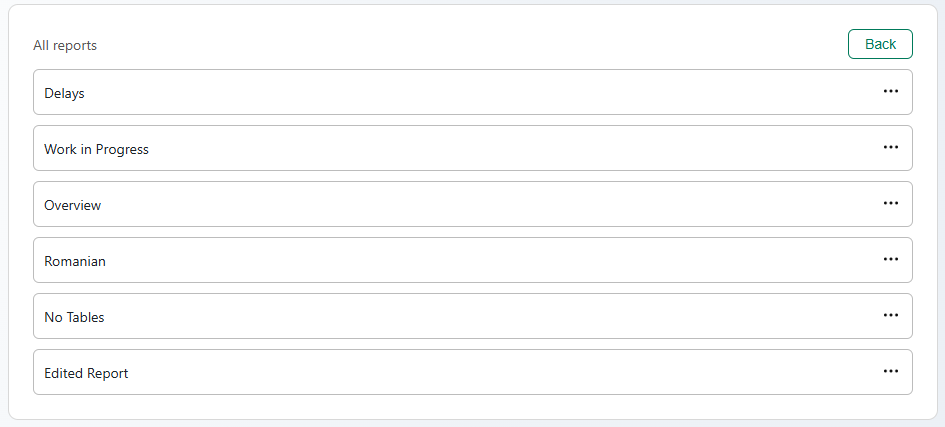
5. Click Back to return to the Generate report view.

6. Click on the three dots for a report to either: Open, Export to PDF, or Delete the report.
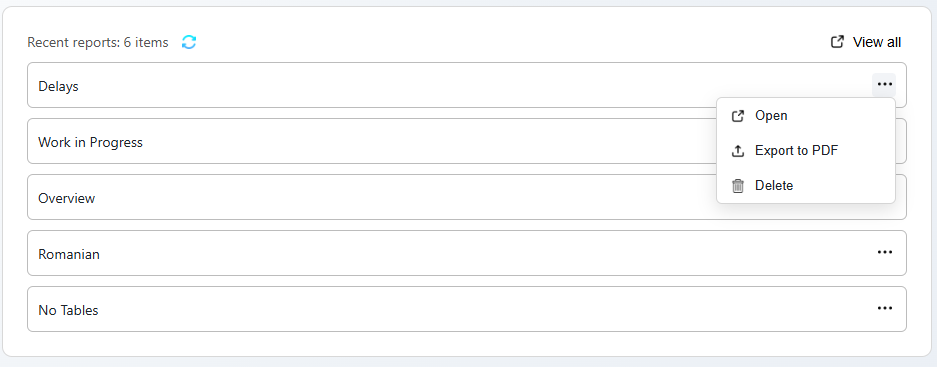
Step by step on how to export, copy, rename, or delete a report:

1. Open the AI Status Report view.

2. To save it as a PDF, click Export to PDF and complete the save dialog.
3. Open the context menu (the three dots) next to a report.
4. To copy the report with its formatting, click Copy. You can then paste it, for example into an email.
5. To rename the report, click Rename and enter a new name.
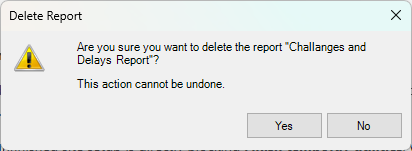
6. To remove the report, click Delete and confirm.
Step by step on how to schedule an AI Status Report:

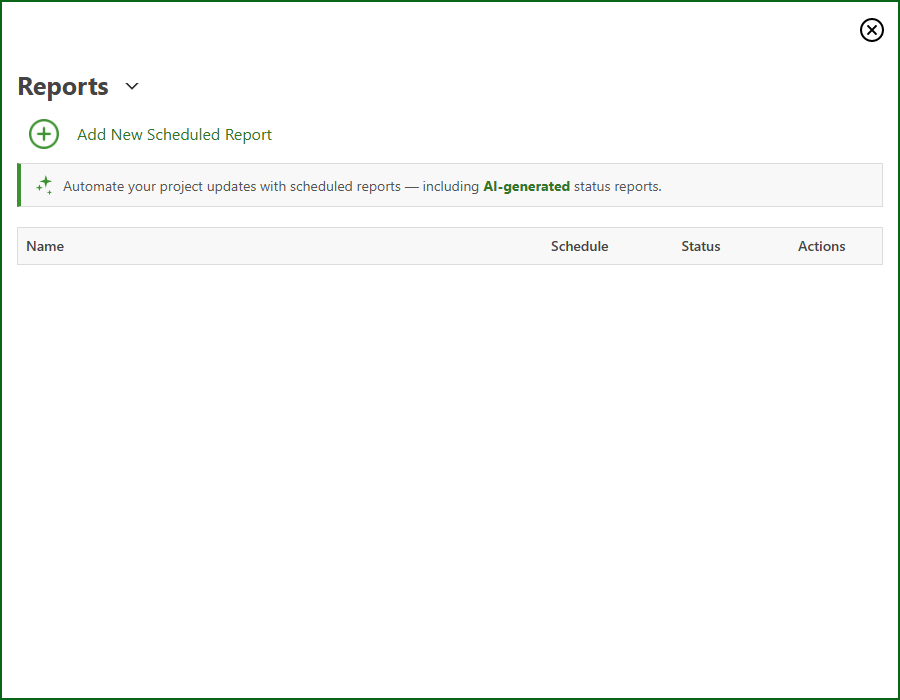
1. Go to menu Report - Scheduled Reports.

2. Click Add Scheduled Report.
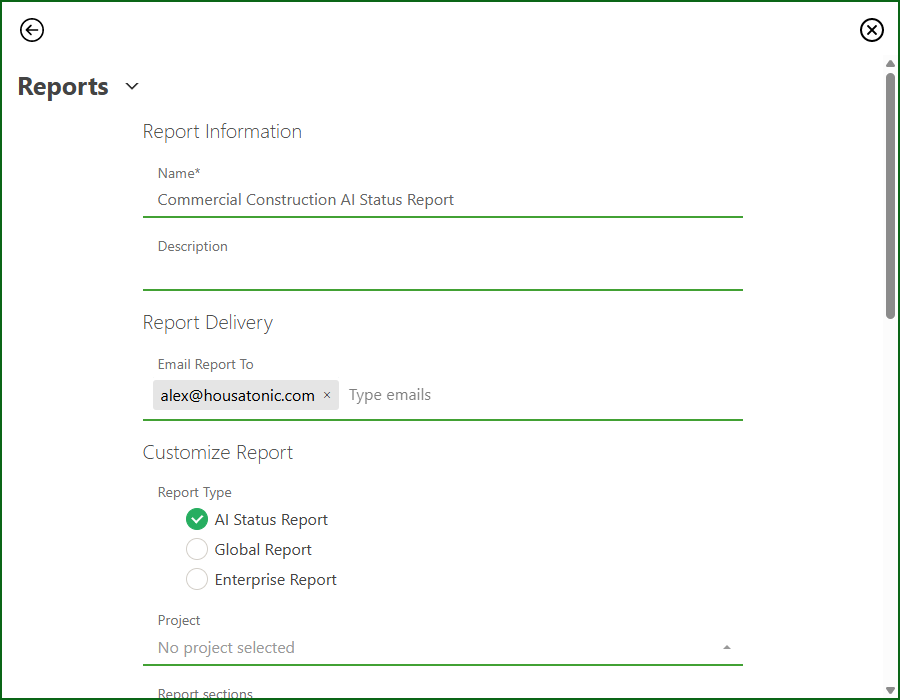
3. Type in a Name and Description. In the Report Delivery field, enter the email address that should receive the report.
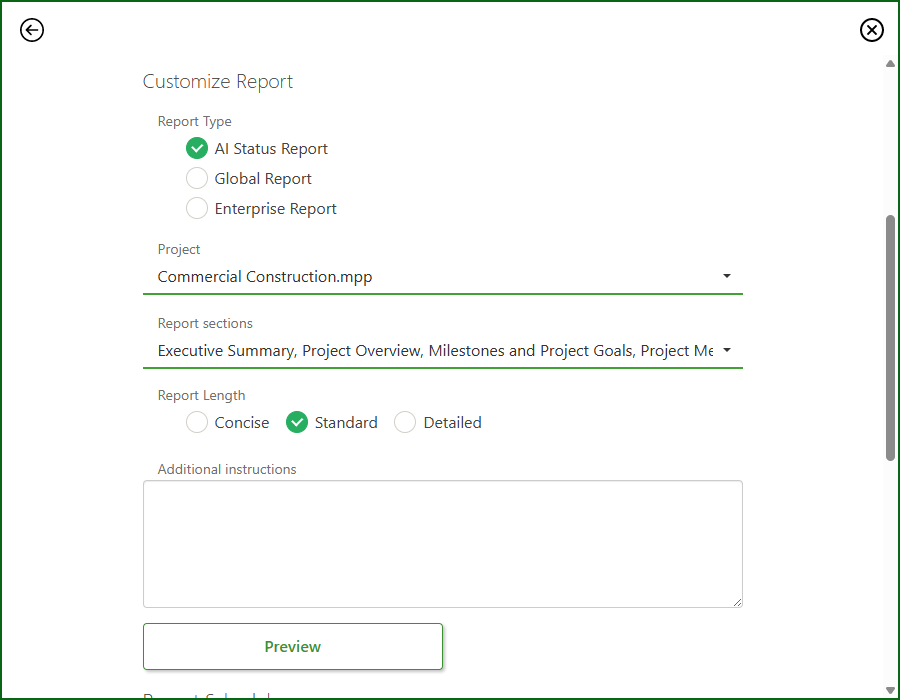
4. Select AI Status Report as the report type, choose the project and the desired Report Sections. Select the Report Length and type Additional instructions optionally. 
5. Set the Frequency and Preferred Delivery Time.

6. Make sure Report Schedule is Enabled is checked, then click OK.
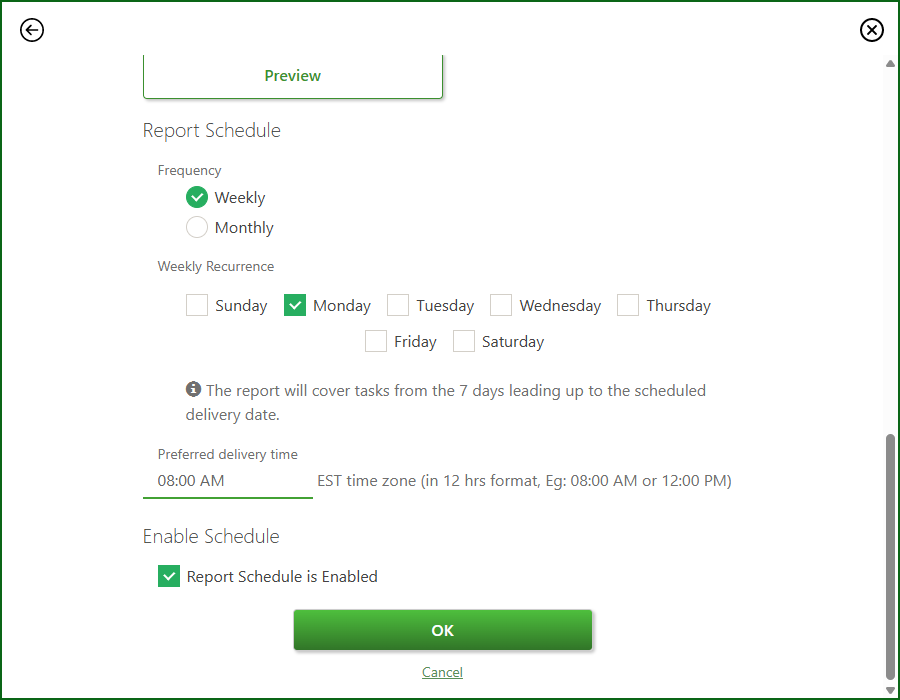
7. The report will be scheduled and delivered to your email address at the set time.
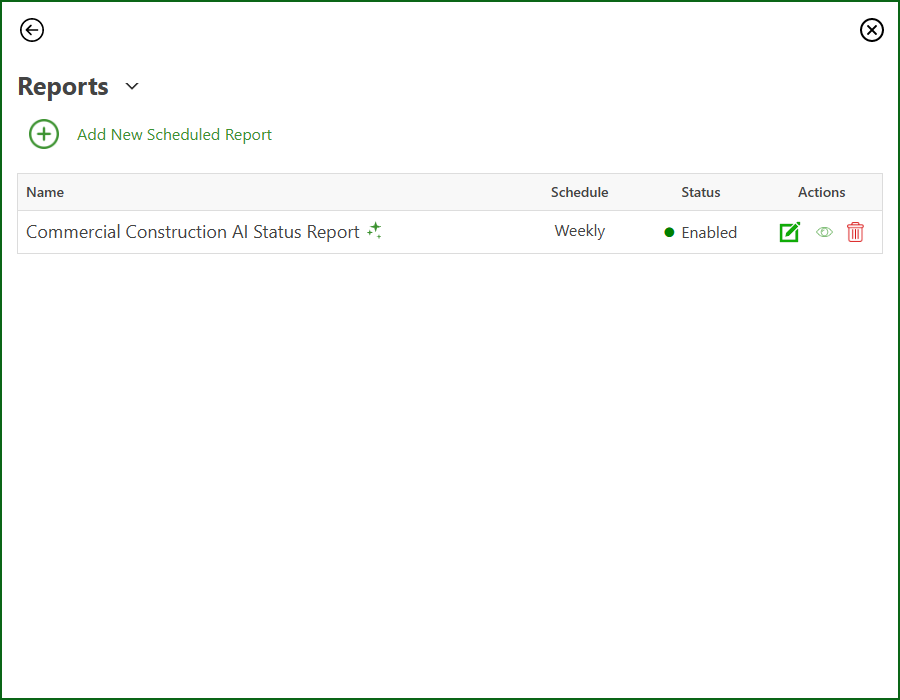
Step by step on what happens when you open your project from a status report email:

  1. Open the AI Status Report email you received.
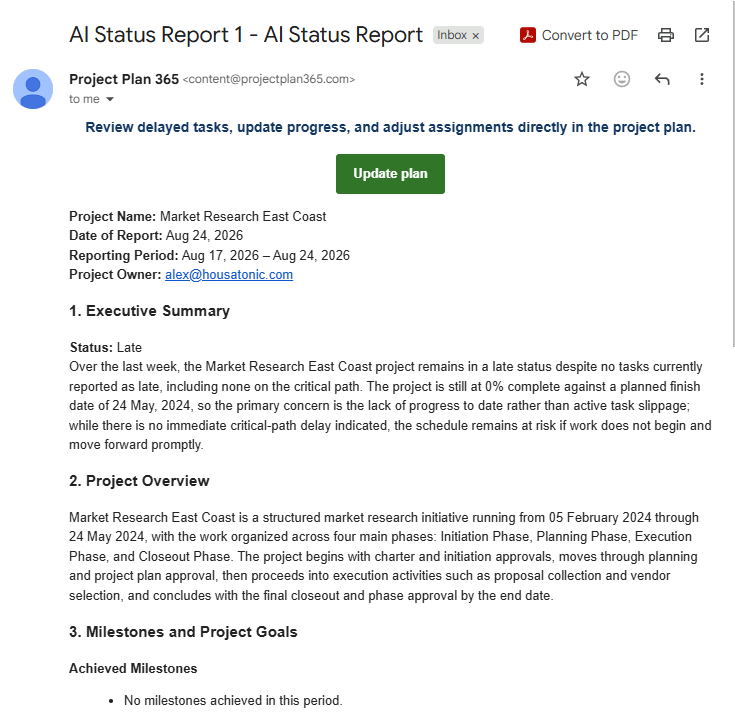
  1. Click the Update Project
  2. You're taken to a page that asks you to open the project.
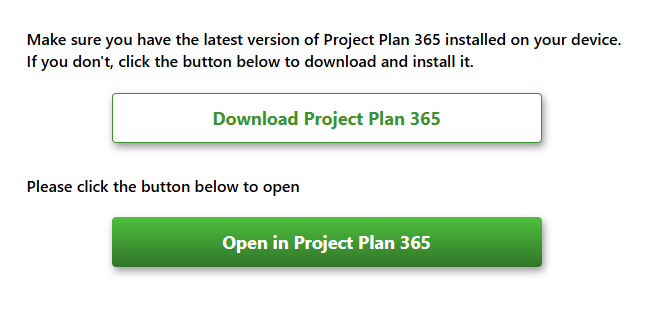
  1. If Project Plan 365 is installed and your browser supports it, the project opens automatically.
  2. If not, click Open Project or Download Project.
Contact Chat