What is the Resource Sheet view?
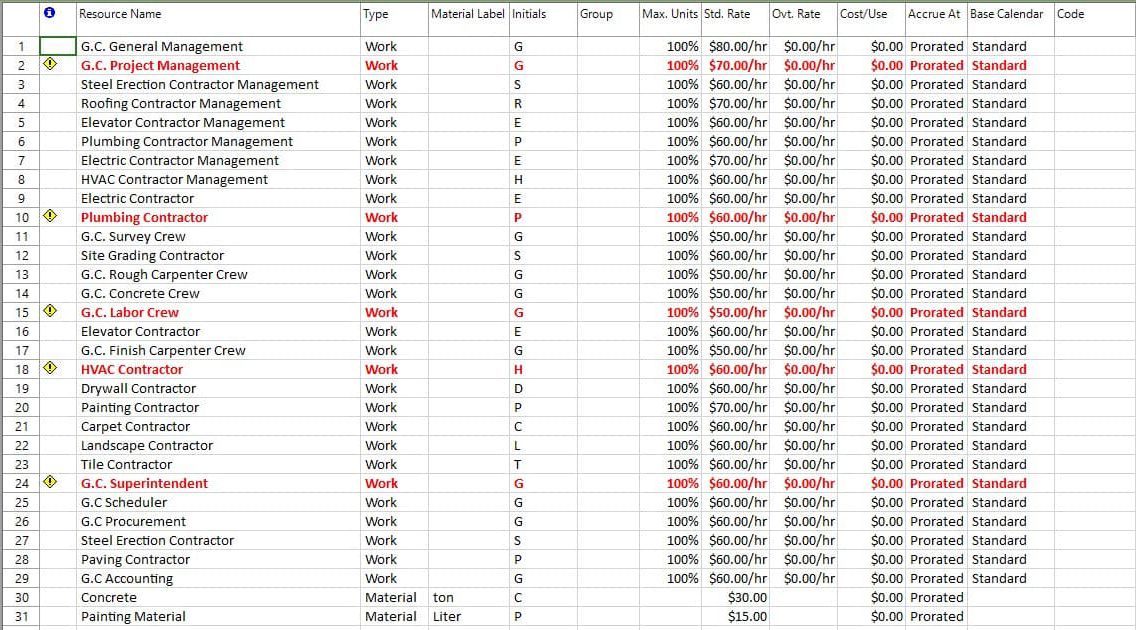
The Resource Sheet view displays resource information in a sheet format, in which you can view information about each resource. Such information includes the payment rate, the number of work-hours assigned, and the planned (baseline) and actual cost.
What kind of resources can I add in Resource Sheet view?
A resource can be an individual, a company or department, a piece of equipment, a room, or any other resource you're using for your project. In Resource Sheet view you can add resources of type work, material and cost.
How do I use the Resource Sheet View?
In order to use the Resource Sheet view, go to menu View - Resource Sheet.
When should I use the Resource Sheet view?
You should use the Resource Sheet view when you want to:
- View resource information.
- Enter and edit resource information.
- Compare a resource's planned costs and work against actual costs and work.
- View the number of work-hours assigned to each resource.
- View resource costs.
- Evaluate the effectiveness of a person on the project.
- Review the number of work-hours assigned to each resource.
- Review resource costs.
How do I customize or format the Resource Sheet view?
To make the Resource Sheet view fit your needs exactly, you can customize it. To customize the Resource Sheet view, you can:
- Change the information that is displayed.
- Change the columns order
- Format individual information to pay attention to it. For example, you can apply bold formatting to a higher-than-expected cost and assign a different font to an overallocated resource.
- Format a category information to distinguish that type of information. For example, you can format all overallocated resources as italic text and increase the size of all column headings.
- Create a combination view for the Resource Sheet view to display additional information about the resources in the Resource Sheet view or about the tasks to which those resources are assigned.
How do I apply a different table in Resource Sheet view?
The Resource Sheet view displays categories of information about the resources, arranged in tables. The default table for the Resource Sheet view is the Entry table, but you can select any of the resource tables to display information about the project's resources by going to menu Project - Tables.
How do I apply a filter in Resource Sheet view?
In Resource Sheet view, you can use any of the resource filters to display only the information you want to see. When you select a filter, the Resource Sheet view displays the information as defined by that filter's criteria. The default filter is the All Resources filter. To apply a filter, go to menu Project - Filter.
How do I sort the resources in Resource Sheet view?
To sort the resources in Resource Sheet view, go to menu Project - Sort.
How do I group resources in Resource Sheet view?
To group the resources in Resource Sheet view, please go to menu Project - Group.
Why are the options in the resource menu grayed out?
If the resource tabs from the Resource menu are grayed out, you need to select the Resource Sheet View from the View menu and then go to Resources menu.
How do I add resources in Resource Sheet view?
To add resources in your project using the Resource Sheet view, you can import the existing team members from your organization or to add other resources. To import the existing team members from your organization, in Resource Sheet view, click on a cell in Resource Name column. A dropdown list will appear with resources that are part of your organization, but are not yet imported in your project. To add another resource that is not a team member yet, simply insert his name in Resource Name field. Later on, you can invite that specific resource into your organization by clicking on the Add Team Member button.
How do I distinguish if a resource is already a team member or not?
To distinguish if a resource is already a team member, look at the Indicators column in Resource Sheet view. A specific icon will appear for resources that are already part of your team.
On what platforms can I import team members from Resource Sheet view?
You can import team members from Resource Sheet view only on Windows, Mac, iOS and web application.
Is there any way to set a default view?
To set a view by default, the Editor needs to save the file with that specific view being opened.
Why I can’t see the “Resource Sheet View” button in ribbon on the Mac platform?
If the “Resource Sheet View” button is not visible in ribbon, please press "More" button. You should be able to find in the dropdown the button that doesn't fit inside the ribbon because of the small window size.
How do I import a resource pool from a .mpp file into my project?
Unfortunately we do not support importing a resource pool from an .MPP file at the moment.
There are 2 ways to import the resources from your .MPP file in our tool:
- Import the resources in our Online Portal. To achieve this, open the .MPP file with the resource pool and go to Team-Import Team. Check the resources you want to import, insert their email address and assign the role: Editor or Read-Only. We recommend this option since you can later use these resources in all projects. For more info, please read the Manage Team Members article.
- And the second way is to copy and paste the resource into the existing project.
How can I group my resources into multiple groups?
You can group your resources by going to the Resource Sheet view and in the Group column, type the name of the group that a resource belongs to.
Step by step on how to apply the Resource Sheet view:
1. Go to menu View - Resource Sheet.

2. The Resource Sheet view is applied.
Step by step on how to import team members using Resource Sheet view:
1. You can import Team Members using the Import Team Members dialog or by adding them from Resource Sheet view.
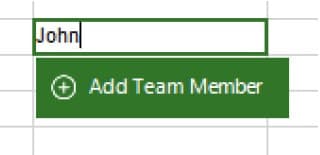
2. The Resource Name editing control provides a list of not imported Team Members and the “Add Team Member” button. If there are no Team Members to suggest, the button alone is displayed.
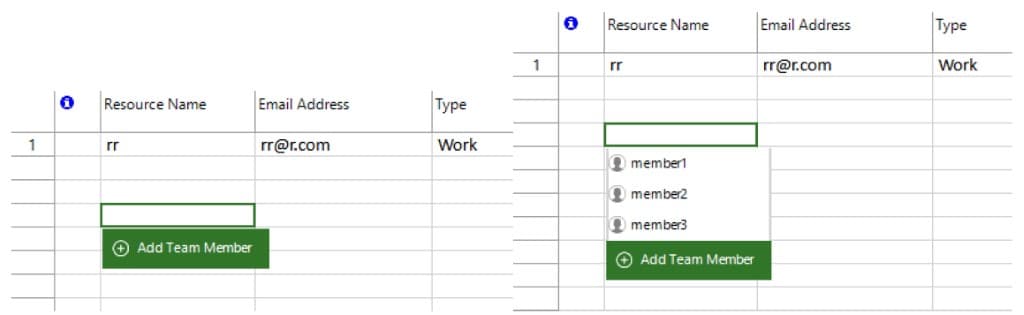
3. As you type in the input box, the suggestions list is automatically refreshed so it matches the input.
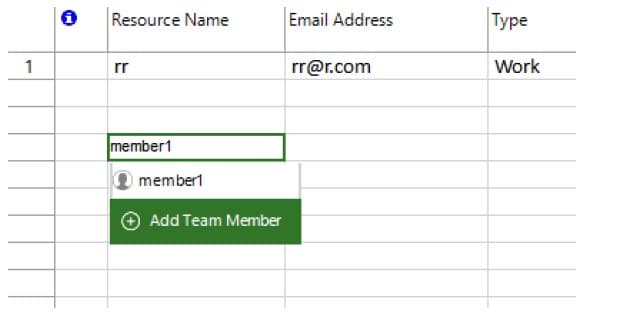
4. If you type in a resource name that does not correspond to any existing team member (that is available for import), you can click the Add Team Member button and proceed to add it to the organization.
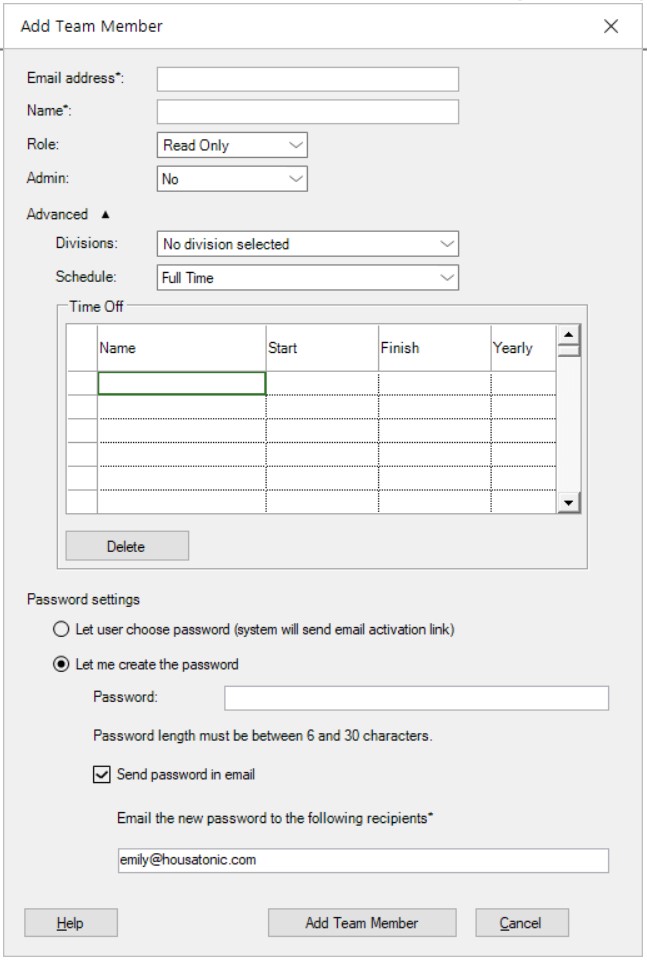
5. The Name field in the dialog is automatically prefilled with the resource name. Same behavior is available for existing project resources – you open the Resource Name editing control for an existing resource, click Add Team Member and information is automatically filled in the dialog.
Note that if a team member already exists in another existing team, you will not be able to add it to the Team, unless you send him an invitation and he accepts it.
To add a team member that already exists in another existing team, please follow these steps:
- Fill out the Email address field in the “Add Team Member” dialog with the one of the team member that is already in another existing team.
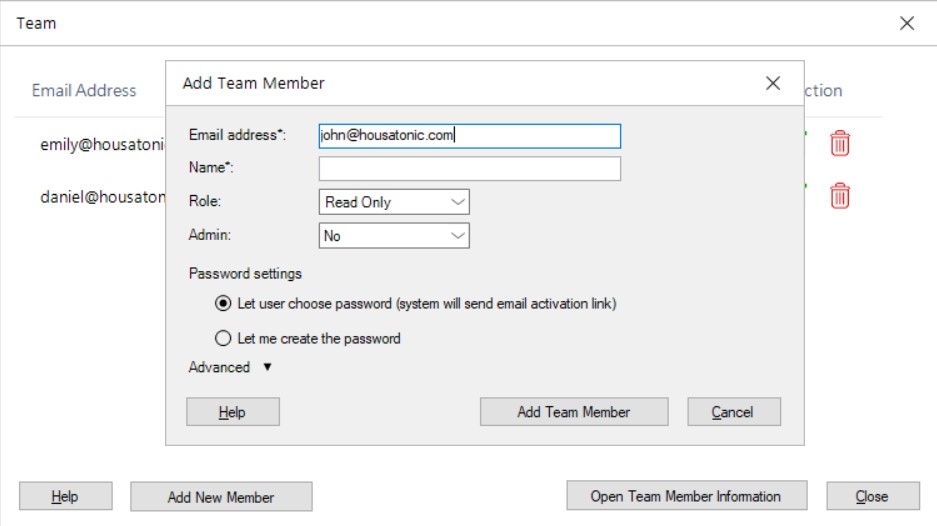
- Right after the Email address input loses focus, the following dialog will appear:
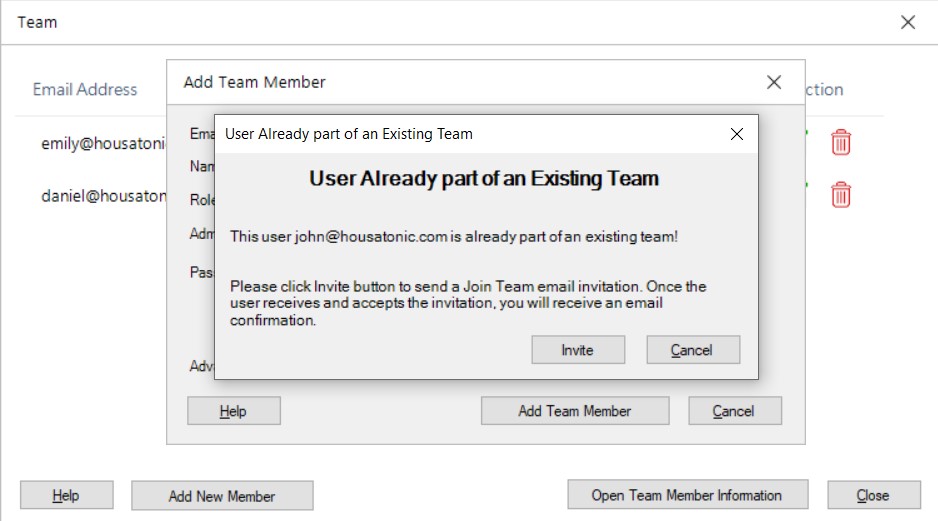
- After clicking the Invite button, the following dialog will appear:
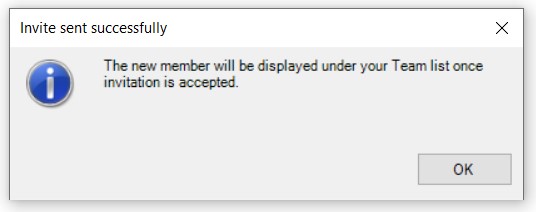
- An invitation email will pe sent to the team member.
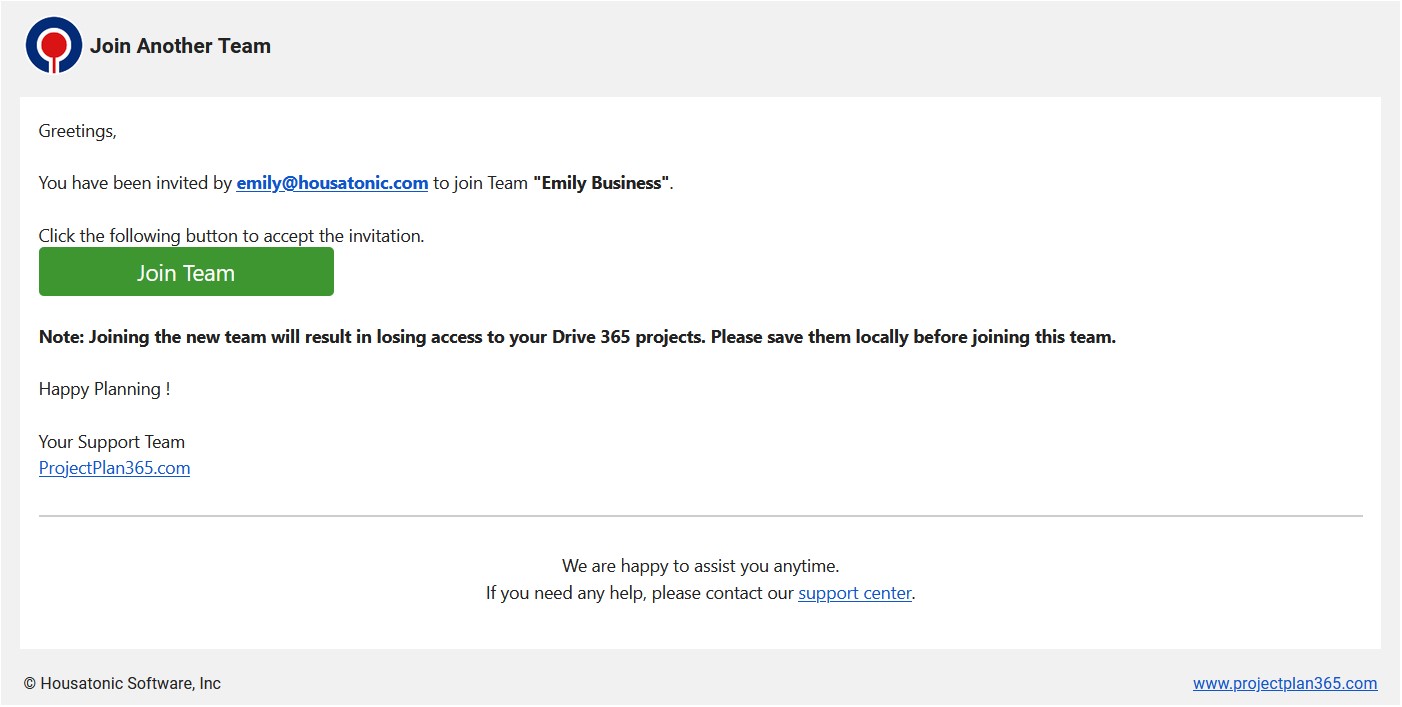
- After the team member accepts the invitation (i.e. clicks the Join Team button), he will be redirected to the sign in page.
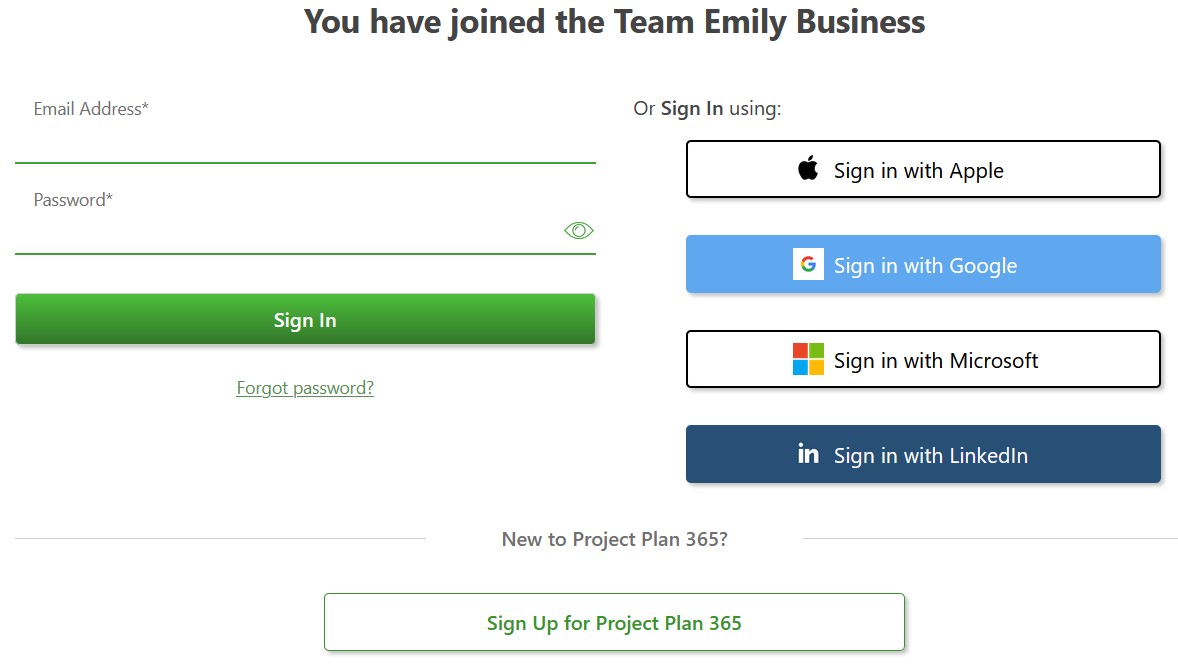
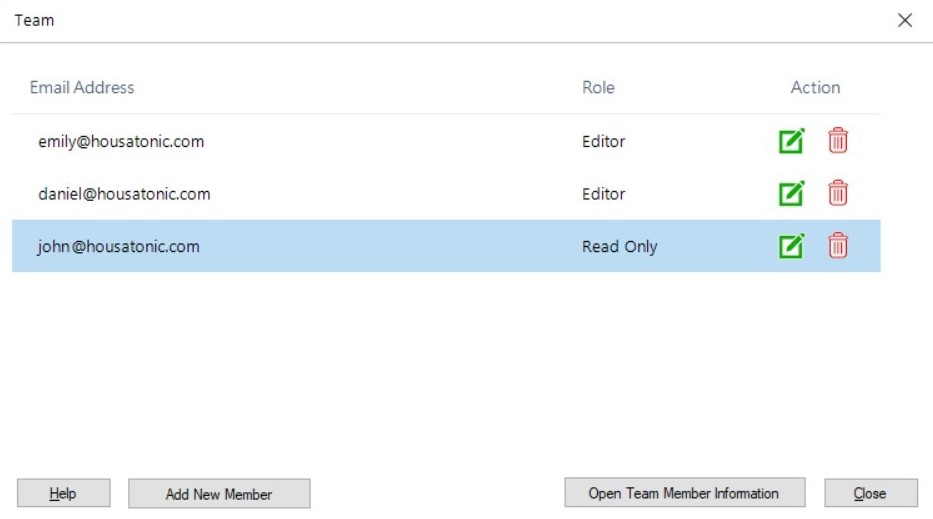
- Then, he will be added to the Team with the Read Only role and Admin field set to false.
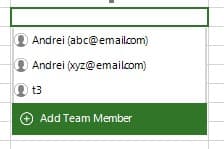
6. Note that if you have two resources with the same name, in the drop down list you will see the email address for each resource.