
The accomplishment of a summary task may be marked by a milestone. A milestone usually marks a major project goal or phase and they are like interim goals in your project. It represents a reference point marking a major event in a project, used to monitor the project's progress.
In Project Plan 365 a milestone corresponds to a task with duration 0. Therefore, to create a milestone, you enter its name and set its duration to 0. To change an already existing task to a milestone, in the Duration field of the task you want to change, type 0 d (meaning duration = 0 days), then press Enter. Any task with zero duration is displayed as a milestone. Another way to create a milestone is to select the desired task - click on Task tab - Task Information - Advanced- check "Mark task as milestone" - click OK.
When you enter a duration of zero days for a task, Project Plan 365 displays the milestone symbol on the Gantt bar chart at the start of that day.
Step by step on how to set a Milestone:
1. Select the Gantt Chart View by clicking the View tab – Gantt Chart.

2. Select the task you want to turn into a milestone or create it by typing the milestone name in the first empty row.
3. If you do not need to allocate time for your Milestone set the tasks Duration to 0.

Project Plan 365 will recognize the task as a Milestone and no other steps are required.
The Milestone symbol will appear for your task in Gantt Chart.
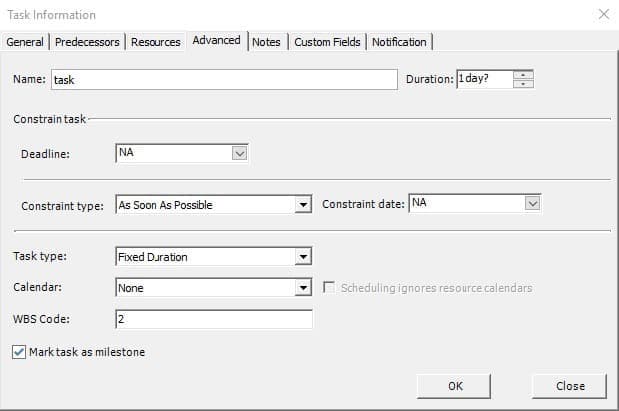
4. If you need to allocate time for your Milestone, click on the desired task – Task– Task Information.


5. Click the Advanced tab, enter the amount of time in the Duration box, check the “Mark task as milestone” box and click OK.
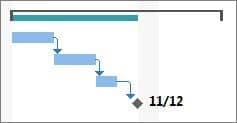
On the Gantt Chart, the milestone symbol appears on the last day of the task. It doesn't appear as a bar, even though it has duration.

 Practice
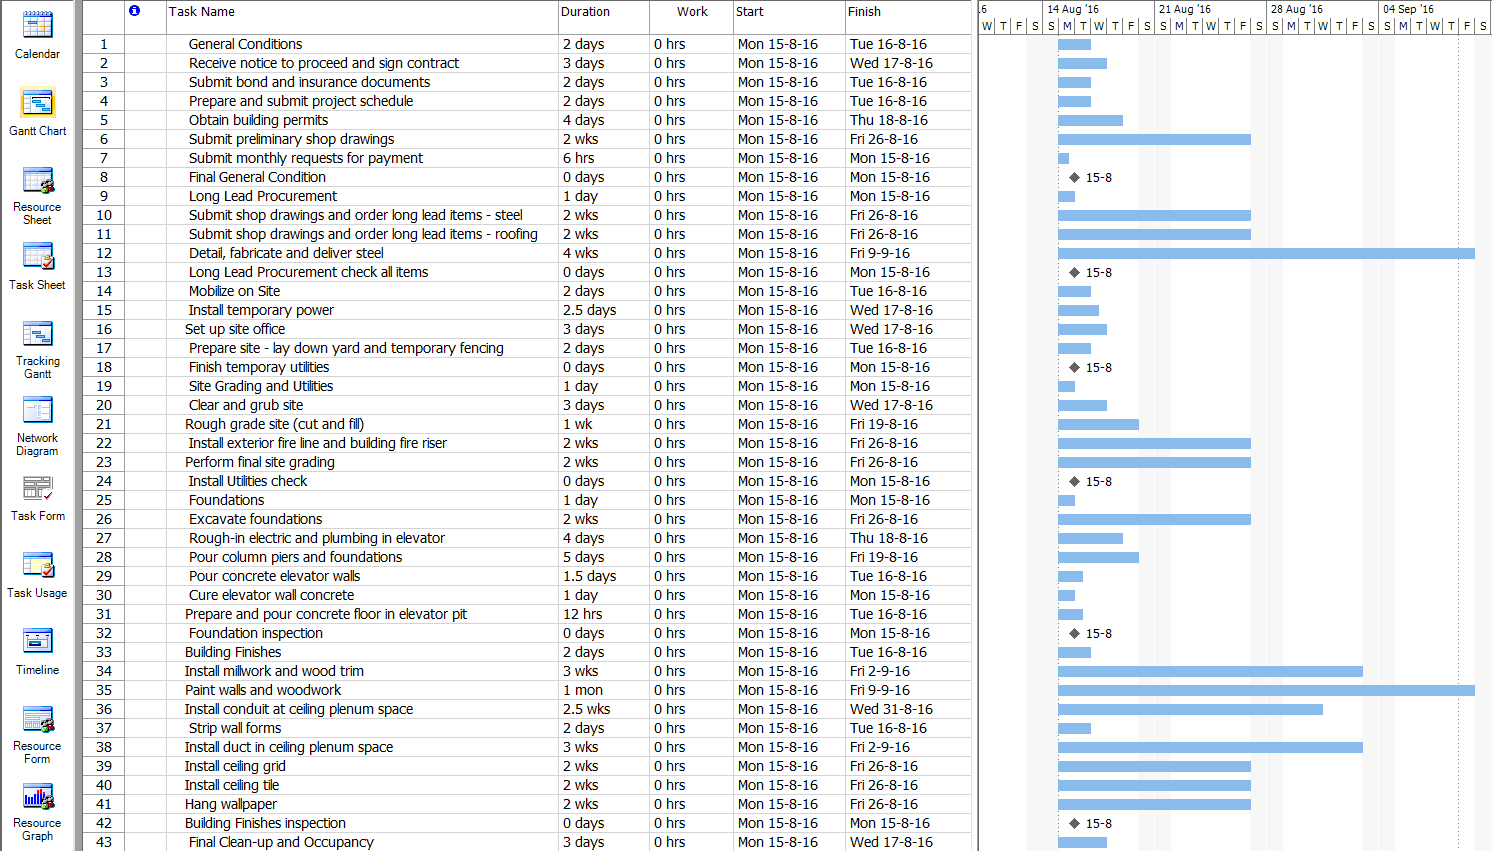
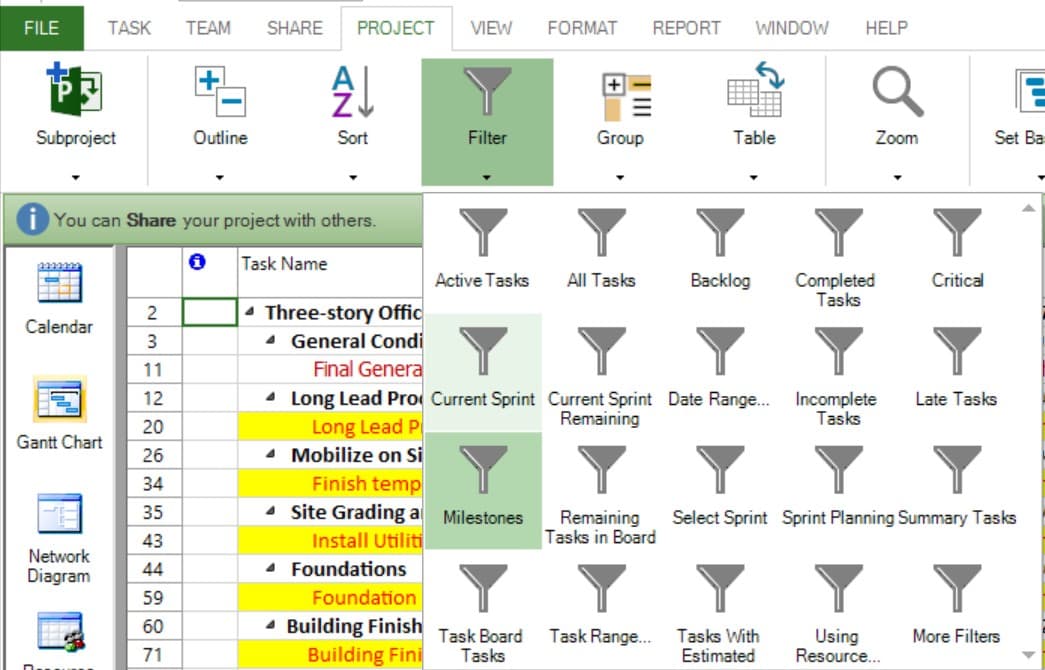
1. In the commercial construction project plan, introduce some milestone tasks. Use the Insert option under Task menu, press Insert key or right click on a task id and select New Task from the contextual menu, to insert a new task above a selected task. Before Long Lead Procurement task insert a milestone task called Final General Condition, above Mobilize on Site task insert a milestone task called Long Lead Procurement check all items, above Site Grading and Utilities task insert a milestone task called Finish temporary utilities, above Foundations task insert a milestone task called Install Utilities check, above Building Finishes task insert a milestone task called Foundation inspection, and above Final Clean-up and Occupancy task insert a milestone task called Building Finishes inspection.
You should obtain the following. Notice in the right Gantt Chart the diamond shape for the milestone tasks, having a duration of 0 days.
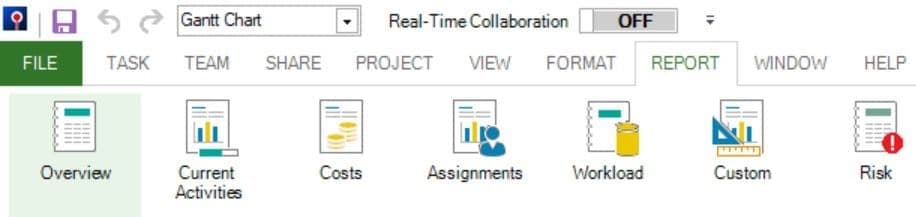
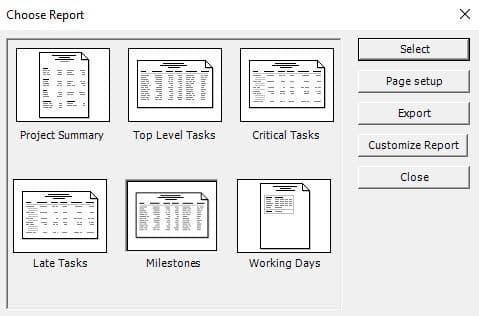
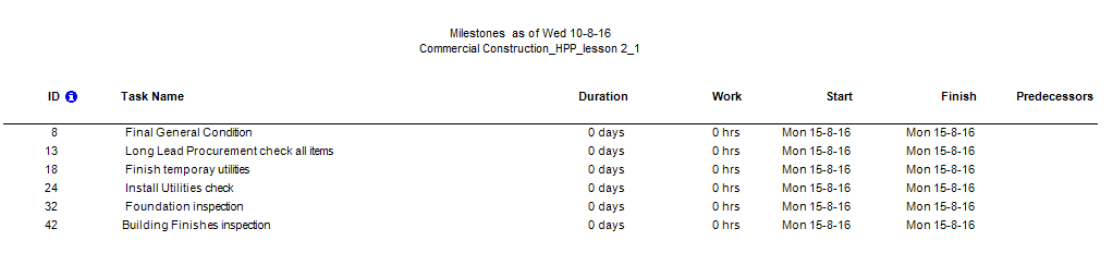
2. To have a quick overview of the milestones from your project you can use reports. Go to menu Report - Overview - Milestones.

 Video
Video
If you prefer to see things in action, rather than reading text, watch out this video, which covers some of the topics from this section.