
Project Plan 365 allows you to insert or hide columns in Gantt Chart type views, such that in the end will result a custom view where only certain information will be displayed, according to your needs.
Insert Column feature is available for Gantt Chart, Tracking Gantt, Resource Sheet, Task Usage and Resource Usage views and enables you to add a column to the sheet list of the current view. You may also change the columns order, alignment or width.
The columns width can be adjusted manually by dragging with the mouse, to left (in order to minimize the width) or right (to enlarge it) the margins of the headers in the task sheet. All the changes made in the task sheet regarding the inserted or hidden columns, width, title alignment, etc. will be reflected in the printed page.
Step by step on how to insert a column:
Method 1:
1. In a sheet view, select the column (field) to the right of where you want to insert the new column.
2. Go to Format menu and click Insert Column.

3. Specify the Field name, Title, Title alignment, Data alignment, and Width of the column.
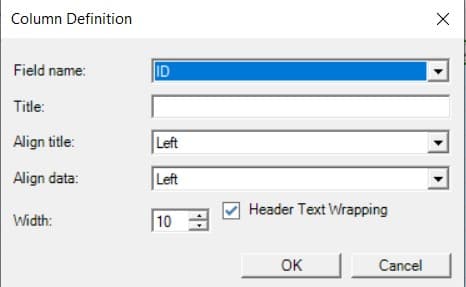
Field name - displays a list of available fields that can be viewed in the sheet panel.
Title - is used to rename the selected field.
Align - aligns (right/center/left) the column name and the column content.
Width - specifies what width the selected column would have in the sheet panel.
4. To wrap the column heading text to the next line, select the Header Text Wrapping check box.
Method 2:
1. Right-click on a column name in the table header and selecting Insert Column option from the displayed contextual menu.
2. The newly added column will be inserted in the sheet to the left of the selected column.

Note: To quickly adjust the width of any column in a sheet view or the Gantt Chart to fit the longest item in the column, double-click the right border of the column title. The column width is automatically sized to fit the widest text in any cell.
Step by step on how to hide a column:
Method 1:
1. In a sheet view, select the column (field) to the right of where you want to insert the new column.
2. Go to Format menu and click Hide Column.

Note: When you remove a column (field) from a table, you hide that column. Hiding a column does not remove information from your project file.
Method 2:
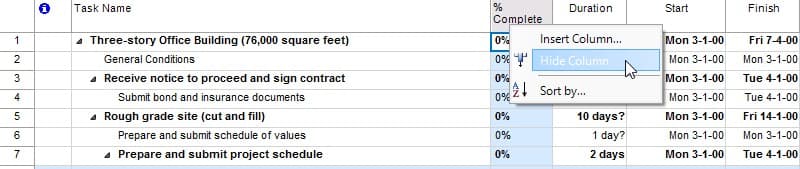
1. Right-click on a column name in the table header and selecting Hide Column option from the displayed contextual menu.
2. The selected column will be removed.
Step by step on how to move a column:
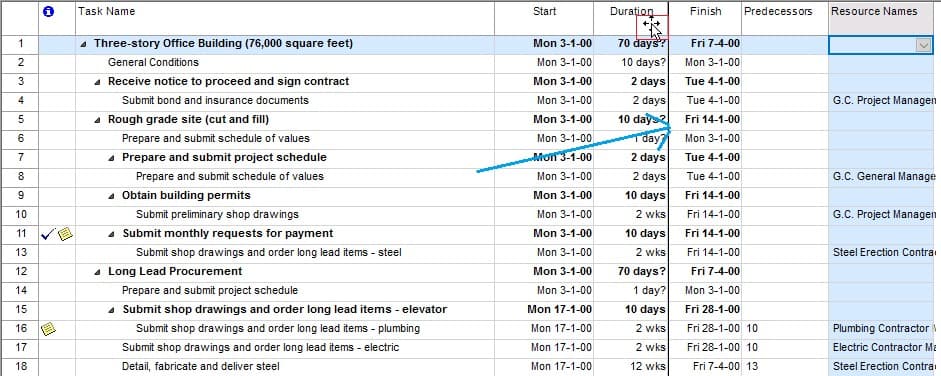
1. Click on the column name cell from the table header to select the entire column. The mouse will change its icon when is hovered over the column name from the table header.
2. Hold down the column, drag it and release it in front of the column where you want to place it. The vertical dividing line that appears as bolded (look at the blue arrow in the below print screen) indicates the position where will be placed the moved column.
Note:
- In case is needed, immediately after you insert, hide or move a column, you can use Undo or Redo options to go one step backward or forward relative to your recent changes.
- When you remove a column (field) from a table, you hide that column. Hiding a column does not remove information from your project file.
 Practice
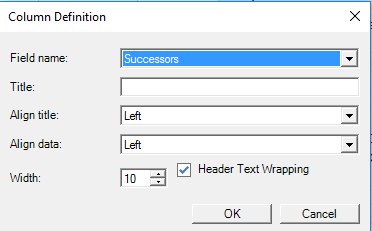
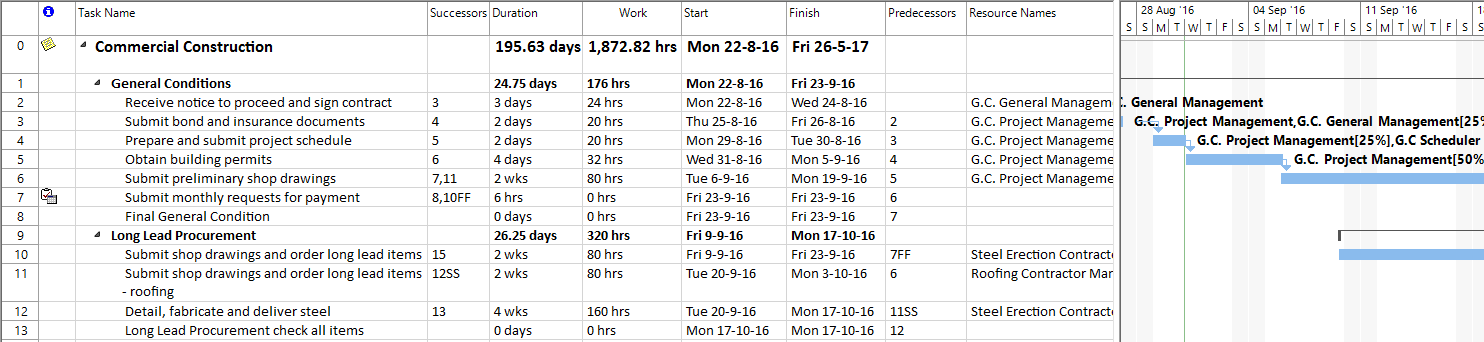
1. In the current commercial construction project, select the Resource Names column, go to Format menu and select Insert Column option to add a new column (Succesors) in the left grid of Gantt Chart view. To add a new column in your project you can also right click on a cell from the header of left side table and from the contextual menu choose Insert Column... option:

Press OK button and your project should look like below:

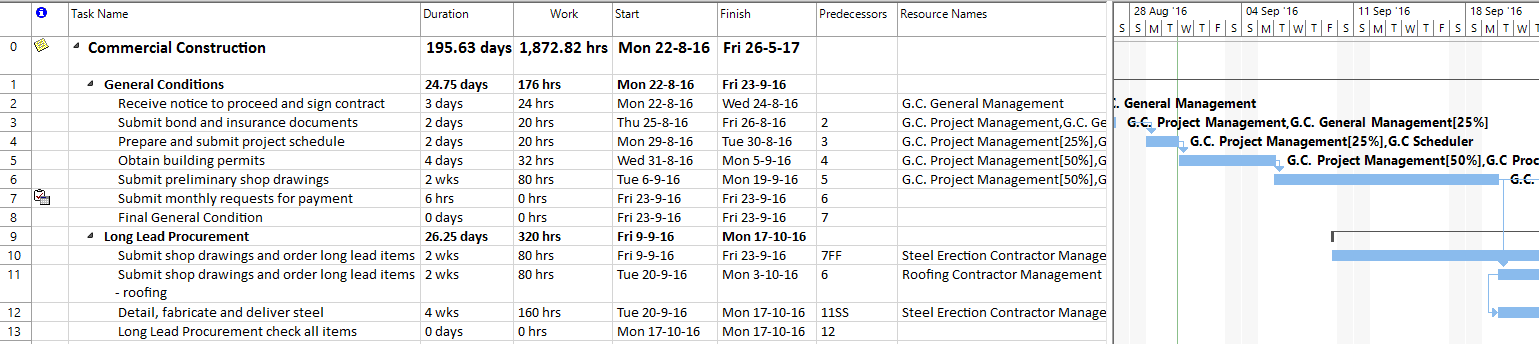
3. We no longer need to view the values from Successor column, so we use the Hide Column option to remove this column. To hide the Successor column, select it by clicking on the Successor cell from the top grid header and then click on Hide Column option. You should obtain the following:
 Video
Video
If you prefer to see things in action, rather than reading text, watch out this video, which covers some of the topics from this section.