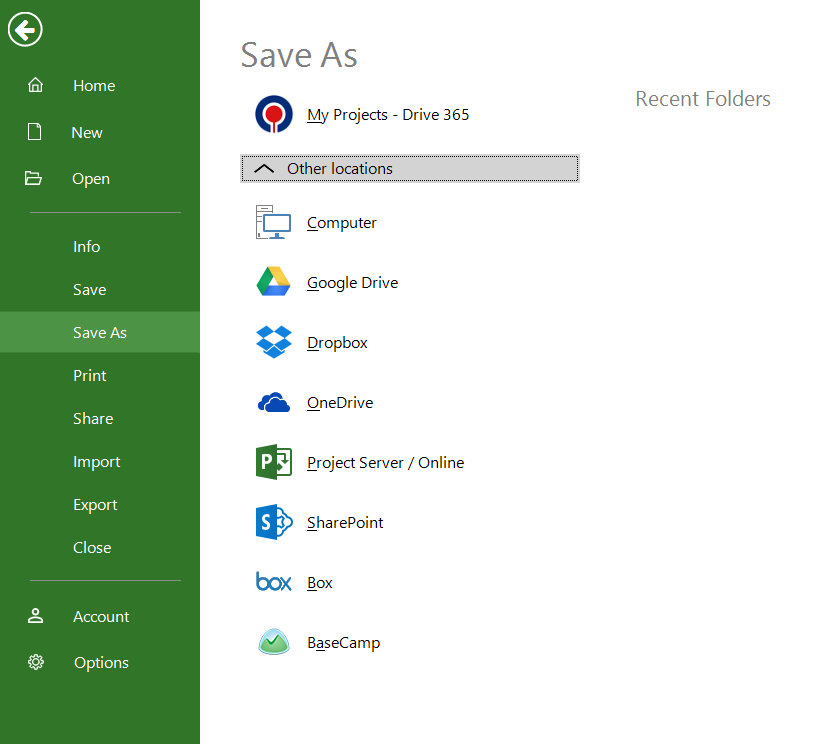
With Project Plan 365 you can save your project plan either on your local device (Computer) or in a cloud location (SharePoint Online, Box, OneDrive, Dropbox, Google Drive and BaseCamp).
Under the File menu, there are two options related with saving: Save and Save As.
Using the Save option you can save the current file, in the current format.
You can use this option only if the file is associated with a location on Google Drive, Dropbox, Box, OneDrive or SharePoint. Use Save As option instead.
The Save option can be accessed from the File Menu (File → Save).
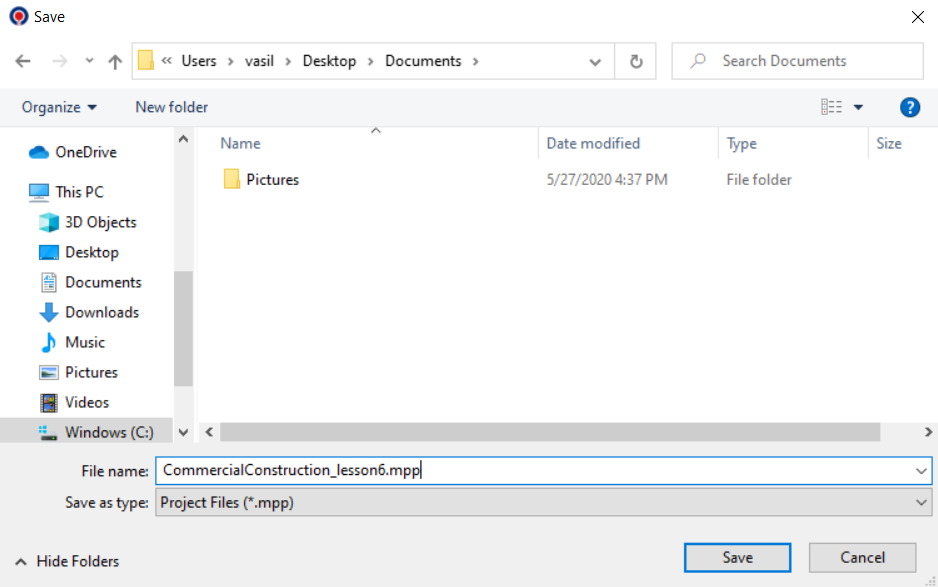
Project Plan 365 allows you to save MPP files on Computer. You may save the MPP files by performing the following steps:
- Go to the File menu, then click Save As and choose Computer option;
- If this is the first time that you are saving the project, type a name for it in the File name box;
- Click Save, then select Save or Save as to select a location to save the file.
You can also save your project plan on a cloud location, using the Save As option under File menu.
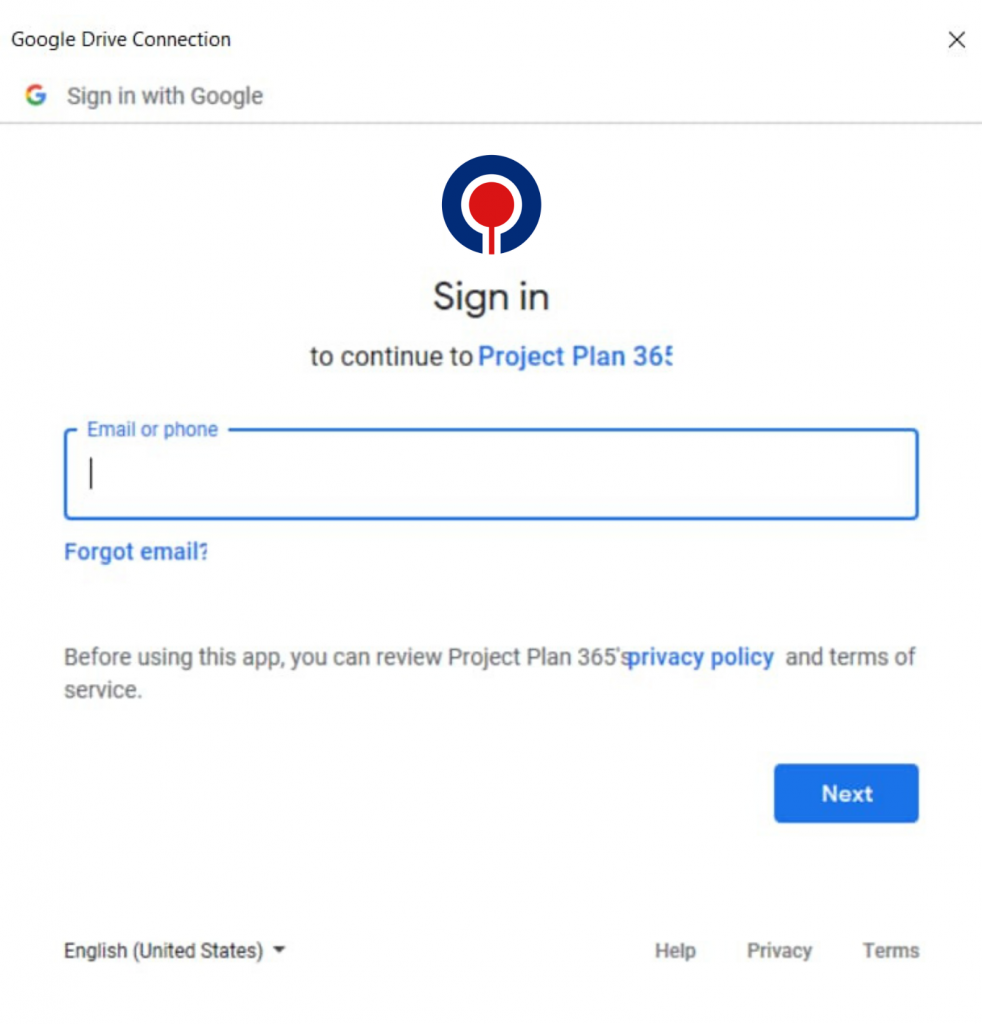
- First you will need to sign in with your account for that cloud. This step will be skipped automatically if the user is already authenticated;
- Permit to the Project Plan 365 application to connect to the required services;
- Type a name for it in the File name box, and press Save;
- Or select any file from list to save over an existing project file.
 Practice
1. Save the project plan created during the Lab 5 - Formatting, using the Save As option. Choose to save the file in a desired folder on your computer and specify a name for the file to be saved (e.g. CommercialConstruction_lesson6).
2. Save the project plan created during Lab 5 - Formatting using the Save As option. Choose to save the file in a cloud location (e.g. Google Drive).
A sign in page will appear where you must enter the required credentials (email and password) for authentication step to the cloud:
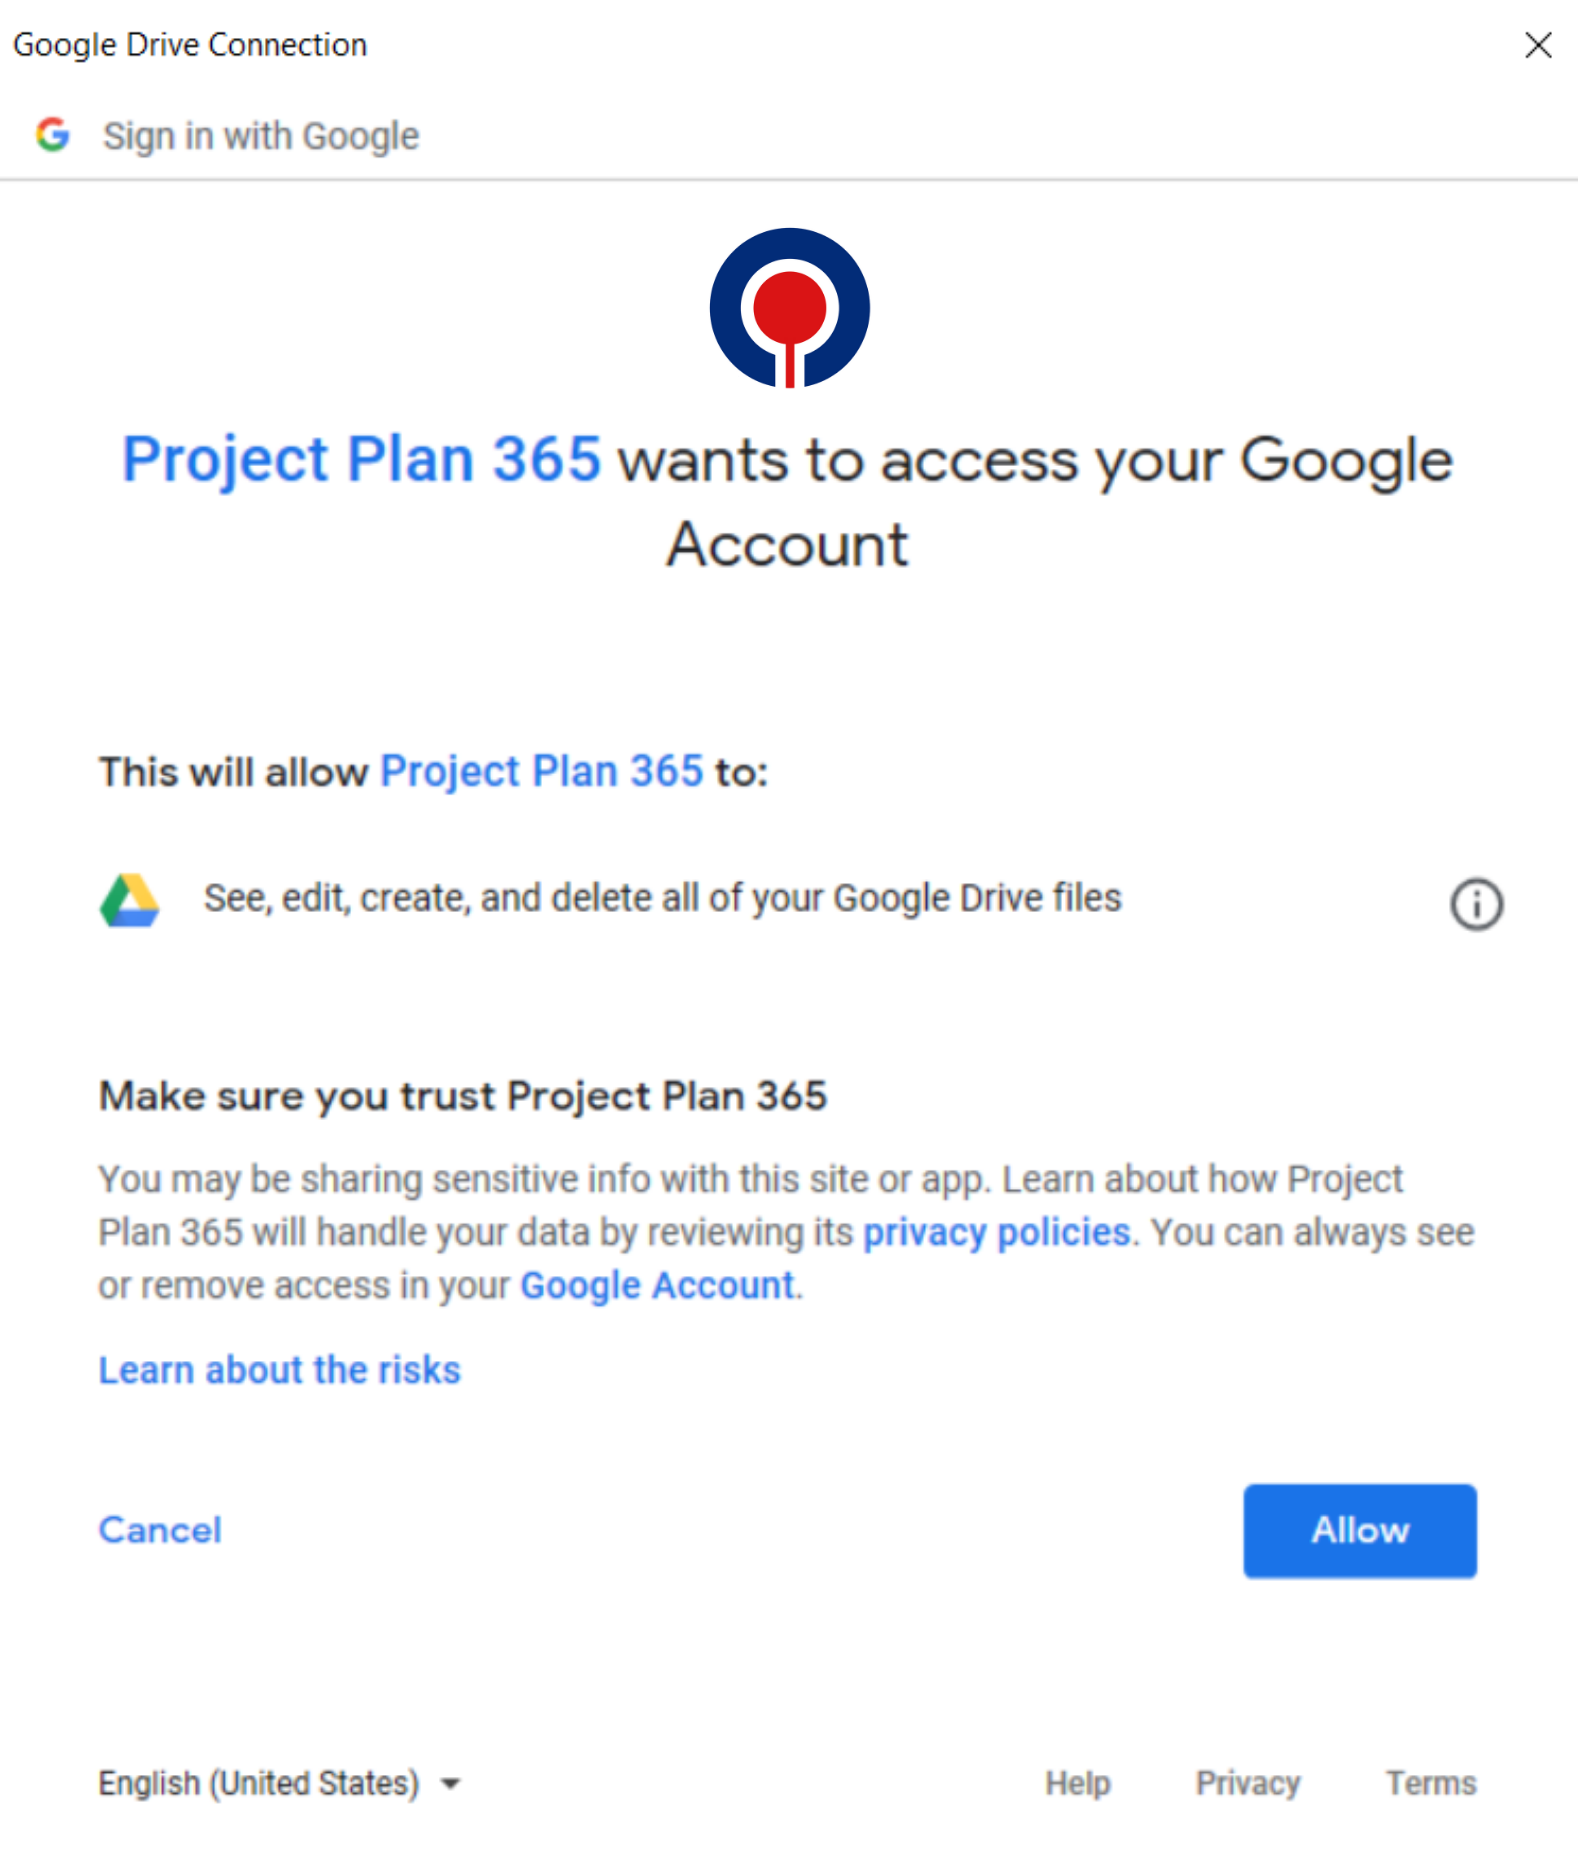
Permit the Project Plan 365 application to access the required rights. Click on Allow button:
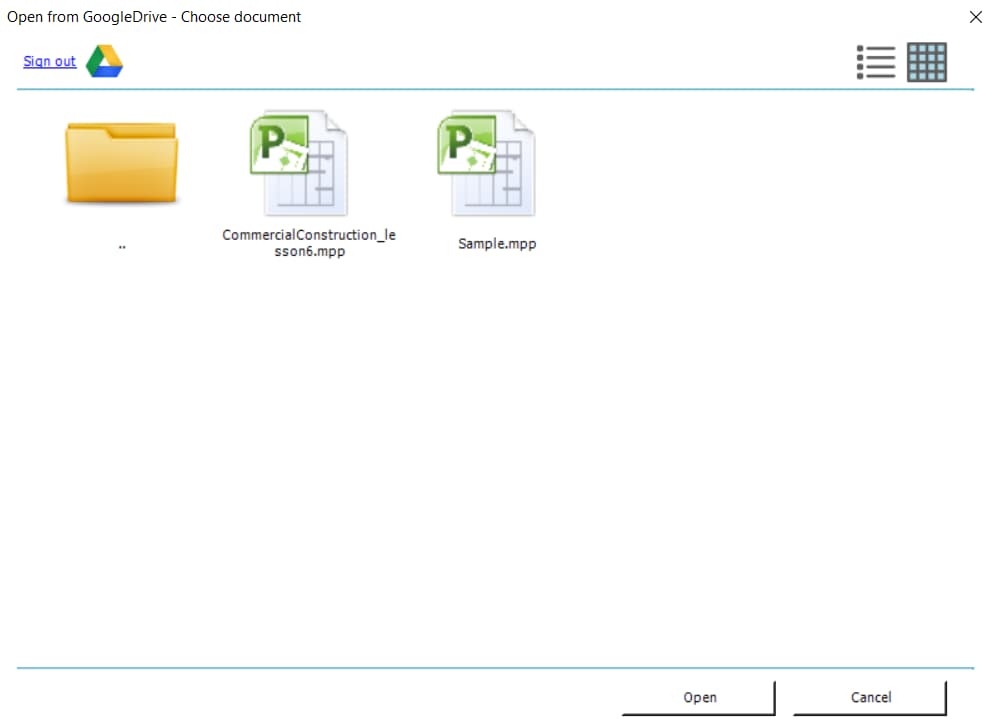
A Google Drive - Save As dialog will appear, in which will be listed all the folders and mpp files you have on your Google Drive account. Choose "CommercialConstruction_lesson6" as name for the file to be saved in the folder called "Shared folder" on Google Drive and click on Save button.