
What does the “Local Logs” functionality do?
Local Logs is a system which logs in-app events that are stored locally in a text file which can be used in order to identify the steps for reproducing an error.
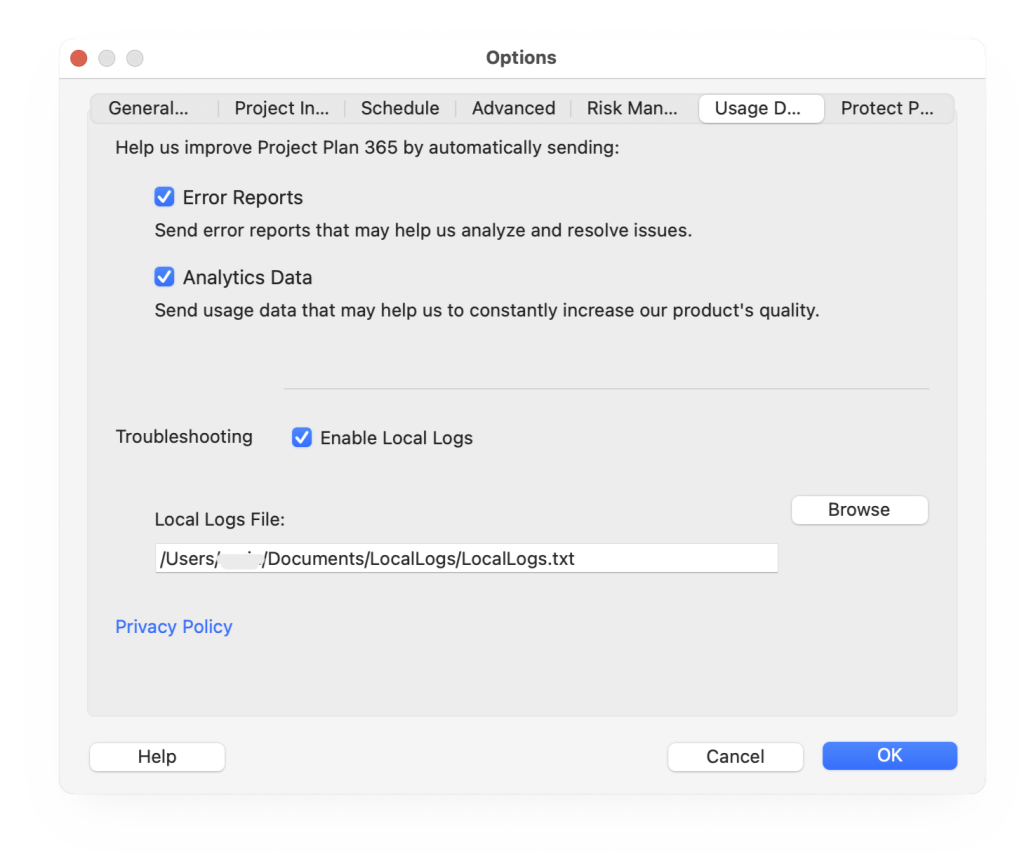
How to enable “Local Logs”?
Local Logs are disabled by default but they can be enabled at any time. In order to enable “Local Logs”, go to the File menu – Options, select “Usage Data” tab and from Troubleshooting section, check the “Enable Local Logs” checkbox. After that click “OK” in the “Options” dialog for the changes to take effect. Events will start to be logged right away in the “Local Logs File”.
How to disable “Local Logs”?
In order to disable “Local Logs”, go to the File menu – Options, select “Usage Data” tab and from Troubleshooting section, uncheck “Enable Local Logs” checkbox. After that, click “OK” in the “Options” dialog for the changes to take effect.
Where is the text file saved?
The default location for the logs file is‘%AppData%/Project Plan 365/LocalLogs.txt’. This can be changed at any time.
Note: Depending on app usage, the logs file may get pretty big.
How to change the location of the log file?
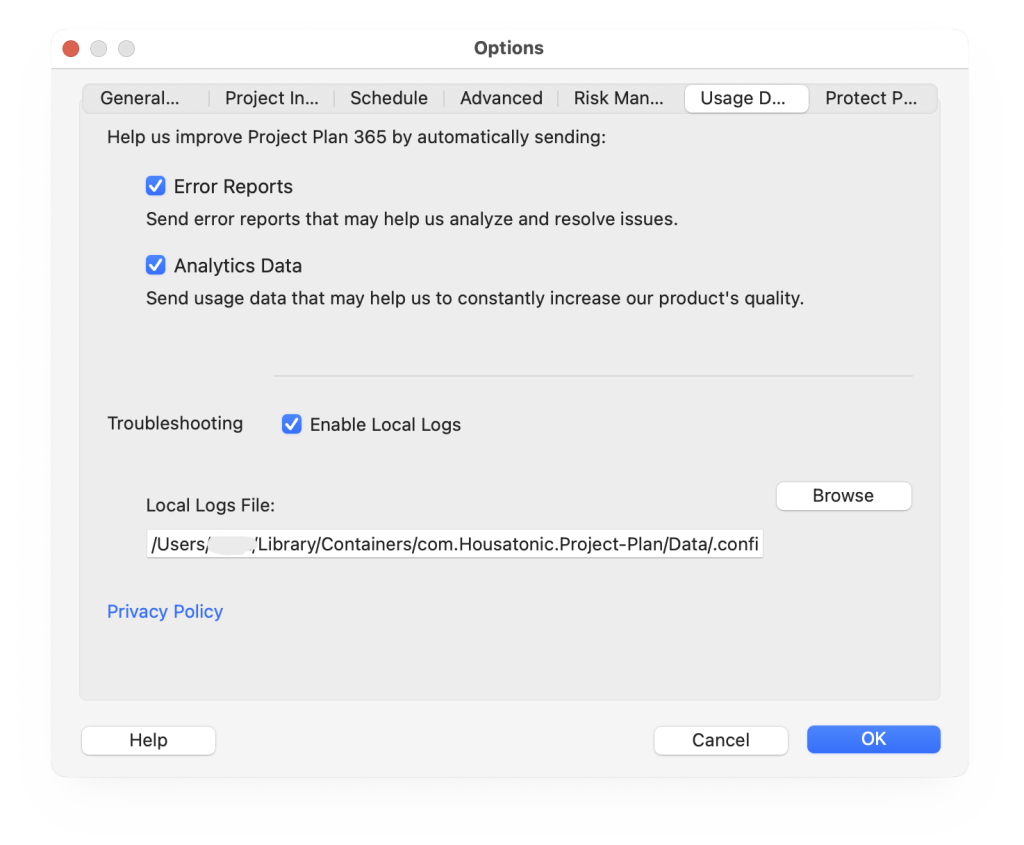
You can change the location where the text file is saved by going to the File menu – Options dialog, select “Usage Data” tab, check the “Enable Local Logs” checkbox (if not enabled) and type the full path to the file or click on the “Browse” button, select the new location, type the name of the .txt file and press “Save”. After that, click “OK” button inside the “Options” dialog for the changes to take effect. Events will be logged in the new file.
What are the information that are logged in the .txt file?
The following information are being logged:
- Timestamp of event (user’s time)
- Session Started indicator
- Application Version
- Application Language
- App Events (Opened dialogs, Clicked buttons, etc.)
- User Activity Events (Active User Email, Edit actions, Change view, etc.)
- Errors
- About Informations
What happens if I delete the log file?
If you delete the log file from your computer, a new .txt file will be created automatically when making actions in the application, only if the “Enable Local Logs” checkbox is checked inside the “Options” dialog.
Step by step on how to open a project from your local device:
1. Go to the File menu – Options.
2. Click on “Usage Data” tab.
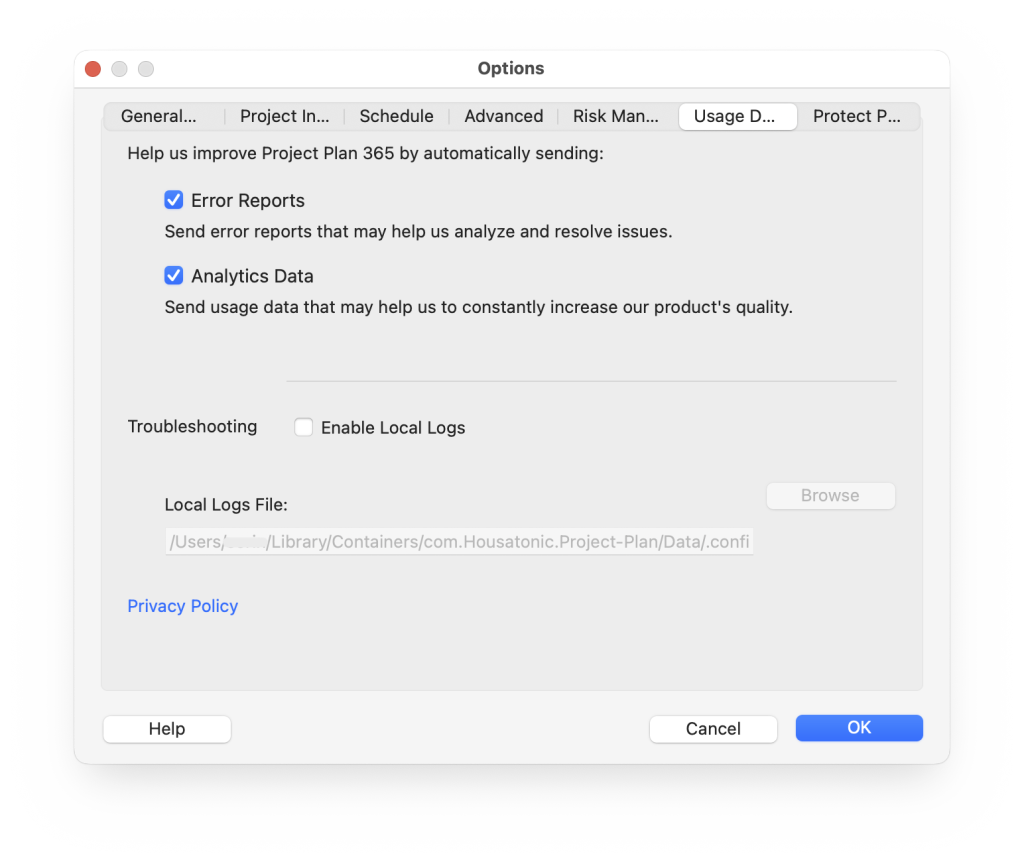
3. Check the “Enable Local Logs” checkbox.
4. Click “OK” in the Options dialog for the changes to take effect.
5. Events will start to be logged right away in the ‘Local Logs File’.
Step by step on how to change the location of the log file:
1. Go to the File menu – Options.
2. Click on “Usage Data” tab.
3. Check the “Enable Local Logs” checkbox.
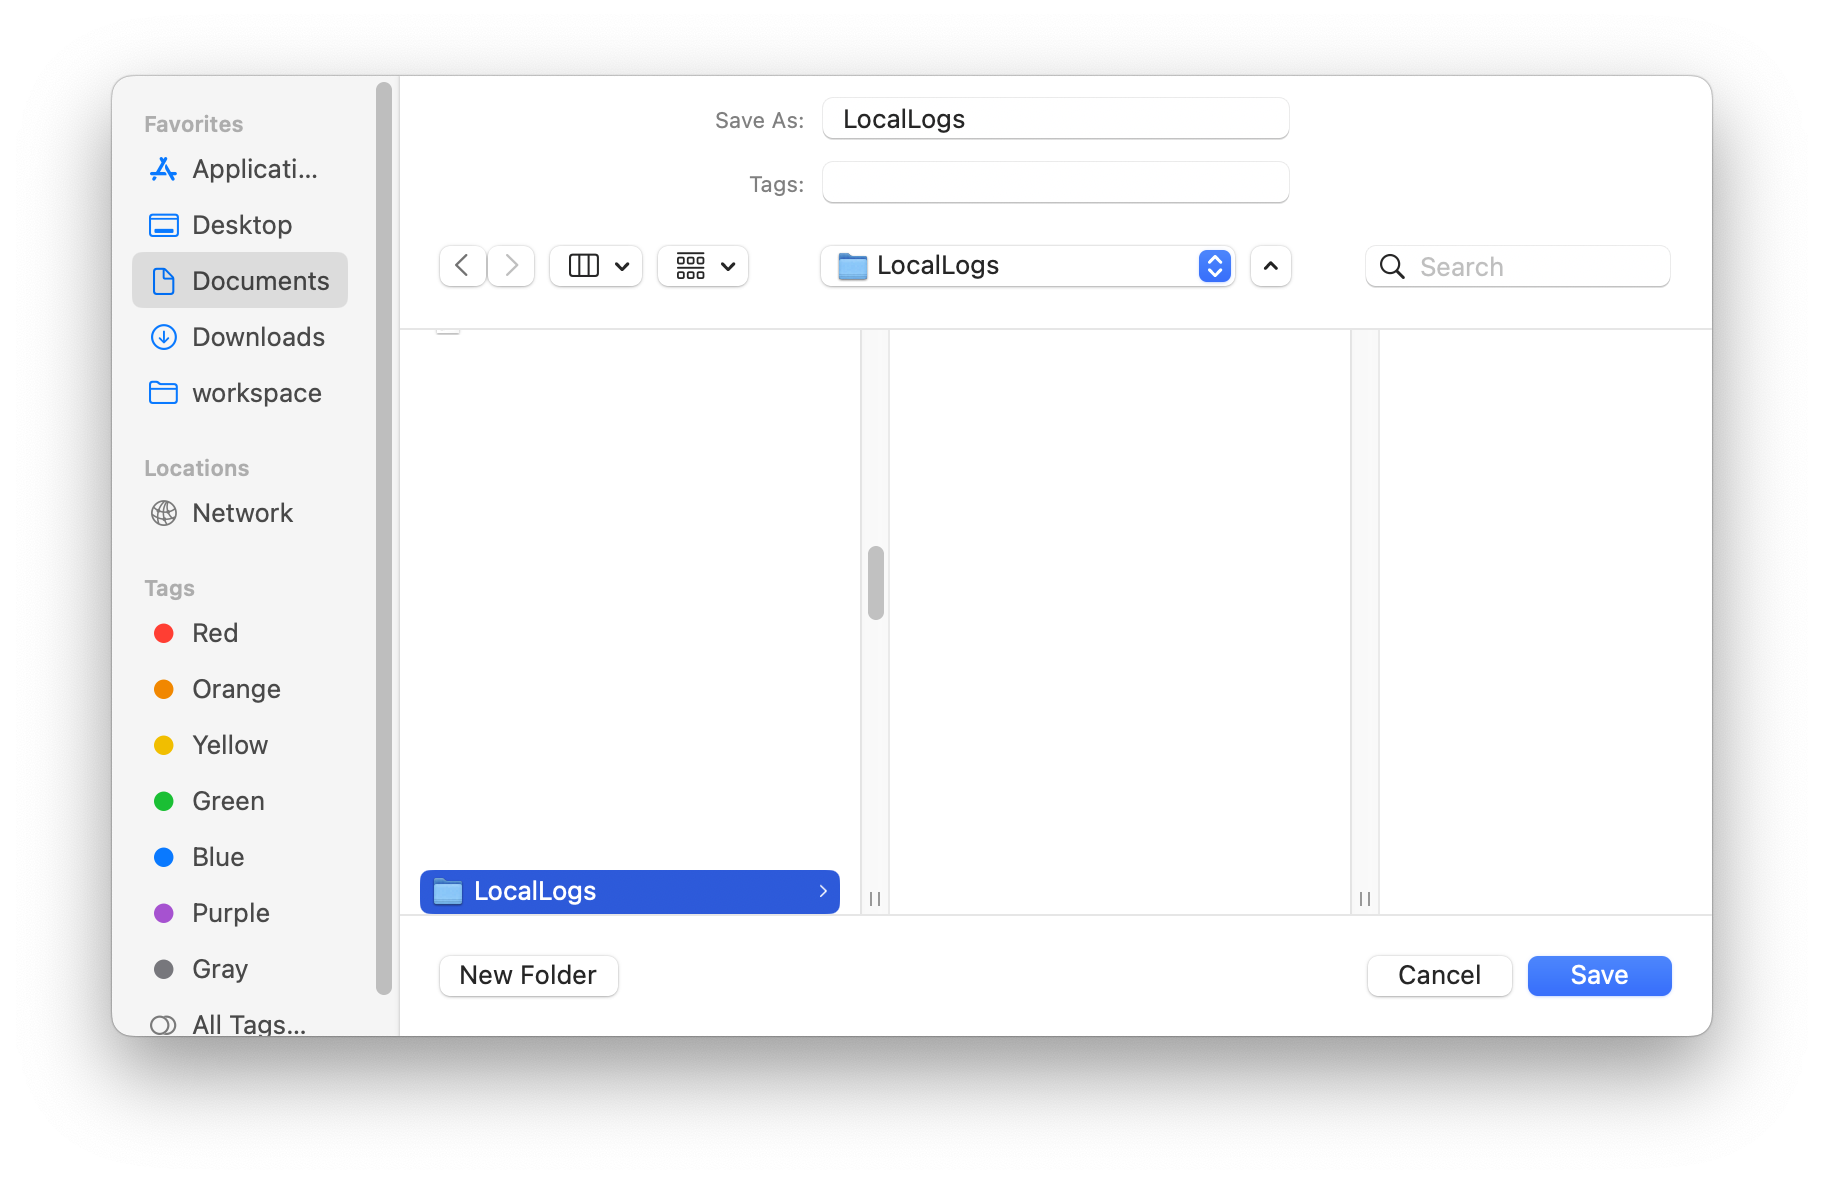
4. Type the full path to the file in “Local Logs File” field or click on “Browse” button to select a new location.

5. Select the desired location inside the “Save a Log file” dialog, type the name of the file and press “Save”.
6. Check that the new path appears in “Local Logs File” field.
7. Click “OK” inside the Options dialog for the changes to take effect.
8. Events will be logged in the new file.