
What does the “Restrict Project Editing” functionality do?
The “Restrict Project Editing” functionality allows you to lock certain fields for editing and protect these fields or the entire project with a password.
Why should I restrict project editing?
You may restrict project editing to prevent team members from accidentally or deliberately changing, moving, or deleting data in your .MPP project.
How do I enable project protection?
To enable project protection, go to ribbon – “Project” tab – "Protect Plan" and click the “Protect Editing” button. A dialog will be displayed where you can enter a password you would like to use to unlock the project in the future and specify who may unprotect the project without a password. The permissions can be set only for team members with an Editor role. Also, note that this functionality is Business only. The users with a Standard subscription can only unprotect the project.
You can also enable project protection from the Options dialog by going to File menu – Options – “Protect Plan” tab and clicking on “Protect Editing” button.
Note that if you lose or forget the password, it cannot be recovered. It is advisable to keep a list of passwords and their corresponding project in a safe place.
How do I enable field protection?
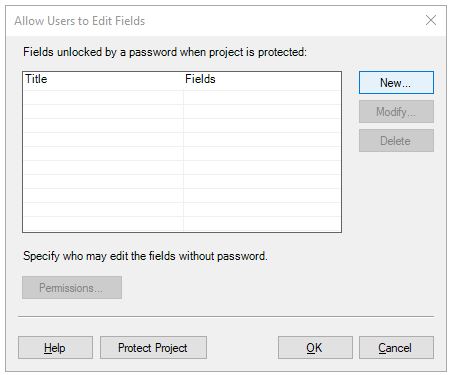
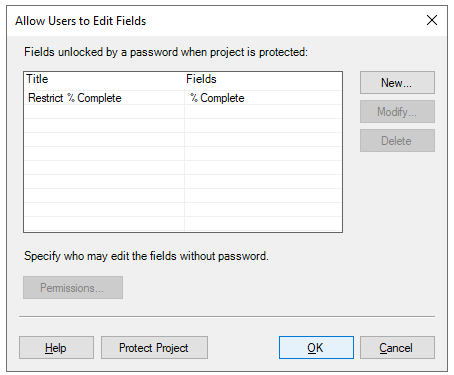
To enable field protection, go to ribbon – Project tab – Protect Plan and click the Allow Edit Fields button. A dialog will be displayed where you can specify the fields that will be unlocked by a password when project is protected. You may also specify who can edit the fields without a password. The permissions can be set only for team members with an Editor role.
Note that this functionality is only for Business subscription.
You can also enable field protection from the Options dialog by going to File menu – Options – Protect Plan tab and clicking on the Allow Edit Fields button.
How do I unprotect the project?
To unprotect the project, go to ribbon – “Project” tab – "Protect Plan" and click the “Unprotect Editing” button. If you have given permission to unprotect the project without a password, a confirmation dialog will be displayed to unprotect the project. If you were not given permission to unprotect the project without a password, a dialog where a password is required will be displayed.
You can also unprotect the project from the Options dialog by going to File menu – Options – “Protect Plan” tab and clicking on the “Unprotect Editing” button.
I want to give a team member permission to edit the project, but he/she does not appear in the Team dialog list.
If the team member is not displayed in the “Team” dialog, it means he/she is not part of the team or he/she does not have an Editor role. Note that only Editor team members are displayed and can be selected to edit the project/fields without a password.
How to give permission to unprotect the project without a password?
To give permission to team members to unprotect the project without a password, follow the steps below:
- Go to ribbon - Project tab – Protect Plan and click the Protect Editing button.
- In the Protect Editing dialog click on the Permissions… button
- In the displayed dialog click the Add button.
- Select the team members that will be able to unprotect the project without a password and click the OK button.
- Click the OK button in Permissions dialog and in the Protect Editing dialog.
- Confirm the password and click OK.
You can also give permission to unprotect the project without a password from the Options dialog by going to File menu – Options – Protect Plan tab and following the steps described above.
On what platforms is the “Project Editing Restriction” feature available?
The “Project Editing Restriction” feature in currently available for Windows, Mac, iOS and Web applications.
Why isn’t the Protect Plan option available in Project menu?
If the Protect Plan option isn’t available in Project menu, please make sure you have the latest version of the application installed on your device: Download
Step by step on how to enable project protection:
1. Open Project Plan 365 app.
2. Sign In with your email and password or with a third party login.
3. Open the project you want to protect.
4. Go to “Project” – “Protect Plan” and click the “Protect Editing” button.

5. Enter a password you would like to use to unlock the project in the future.

Note that if you lose or forget the password, it cannot be recovered. It is advisable to keep a list of passwords and their corresponding project in a safe place.
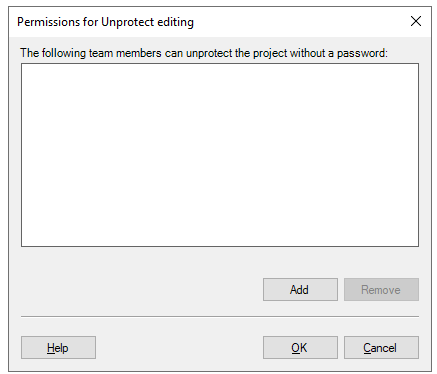
6. Click the “Permissions…” button.
7. In the displayed dialog click the “Add” button.
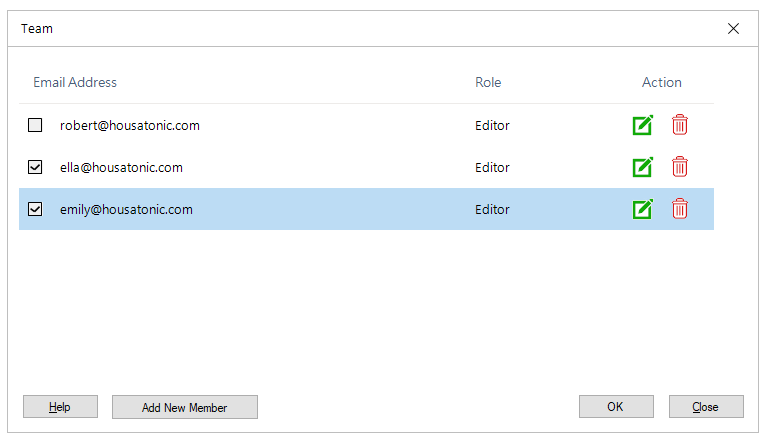
8. Select the team members that will be able to unprotect the project without a password and click the “OK” button.
Note that you can only select team member that have an Editor role.
9. Click the “OK” button in “Permissions” dialog.
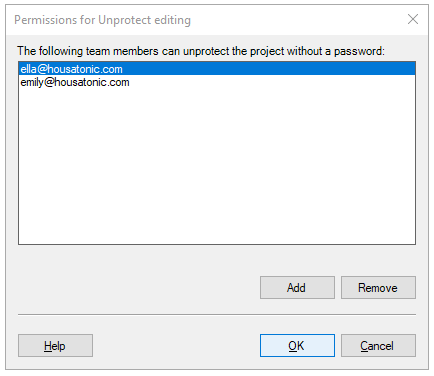
10. Click the “OK” button the “Protect Editing” dialog.
11. Confirm the password.
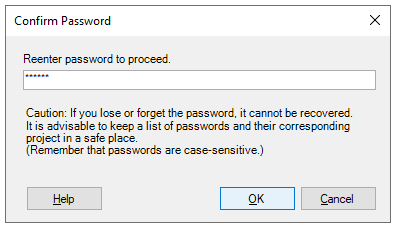
12. Click the “OK” button in the “Confirm Password” dialog.
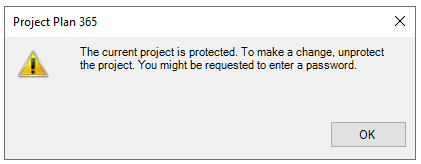
13. Now, if a user tries to edit the project, a warning will be displayed.
Note: This feature is only for Business Subscription.
Step by step on how to enable fields protection:
1. Open Project Plan 365 app.
2. Sign In with your email and password or with a third party login.
3. Open the project file.
4. Go to “Project” – “Protect Plan” and click the “Allow Edit Fields” button.
![]()
5. In the displayed dialog, click the “New” button.
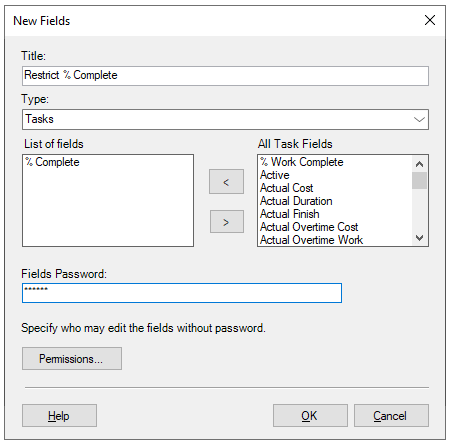
6. Type a Title for the new group of fields. Select the Type of the fields (Tasks or Resources), select the fields you want to protect, then enter a password you would like to use to unlock the fields in the future.
7. Click the “Permissions…” button.
8. A dialog will be displayed where you can specify the team members that can edit the group of fields without a password. Click the “Add” button.
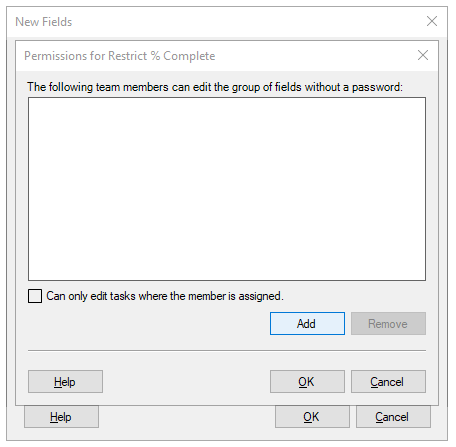
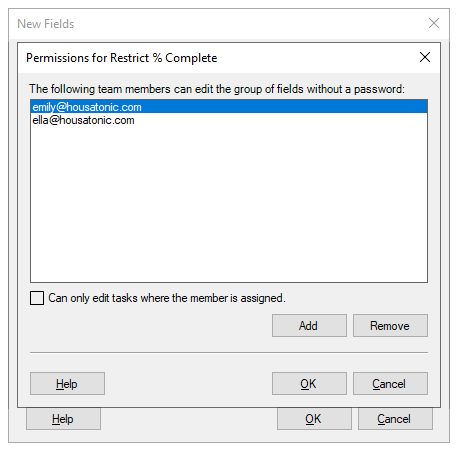
9. Select the team members that will be able to edit the fields without a password and click the “OK” button. Note that you can only select team members that have an Editor role.
Note: For the field of Tasks type, you have the option to check the “Can only edit tasks where the member is assigned” option. Meaning that the team member will be able to edit the specified tasks fields only if he/she is assigned to that task.
10. Click the “OK” button in “Permissions” dialog.
11. Click the “OK” button the “New Fields” dialog.
12. Confirm the password.
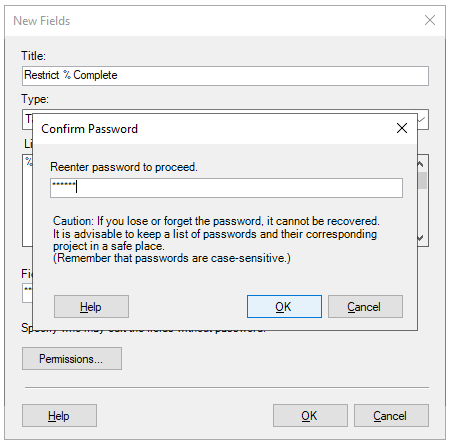
13. Click the “OK” button in the “Confirm Password” dialog.
14. Click the “OK” button in the “Allow Users to Edit Fields” dialog.
15. Click the “Protect Editing” button and set a password for project protection.
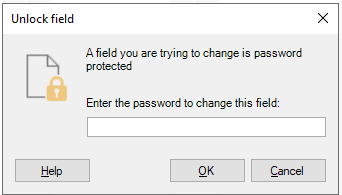
16. If someone other than the team members selected to be able to edit the fields without a password tries to edit the specified fields while the project is protected, the “Unlock field” dialog will be displayed.
Note: This feature is only for Business Subscription.
Step by step on how to unprotect the project:
1. Open Project Plan 365 app.
2. Sign In with your email and password or with a third party login.
3. Open the protected project file.
4. Go to “Project” – “Protect Plan” and click the “Unprotect Editing” button.

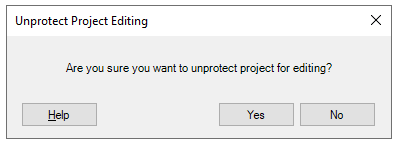
5. If you have given the permission to unprotect the project without a password, a confirmation dialog will be displayed.
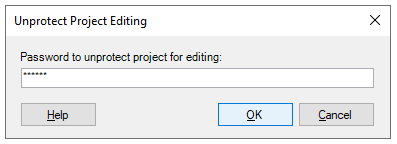
If you have not given the permission to unprotect the project without a password, a dialog where the password is required will be displayed.
Note: This feature is only for Business Subscription. The users that have a Standard Subscription will only be able to unprotect the project.