
What is Real-Time Collaboration feature?
Real-Time Collaboration (rTc) is a feature of Project Plan 365's Business (PMO) Plan that allows multiple users to collaborate in real-time with each other while constructing or updating a project plan stored on Drive 365. For example, a project plan can be set up to allow team members to update their own % completes, thus freeing up the plan owner to do other work.
How do I setup the real-time collaboration?
To set up any .MPP file for Real-Time Collaboration (rTc), follow this procedure:
- Sign In or Sign Up to the Business (PMO) Subscription using your email & password in Project Plan 365 app.
- Having the Editor role, open the MPP file that you want to collaborate on with others, and save it to Drive 365 cloud service.
- Check off the resources you want to include, and then click on the Add Team Members button.
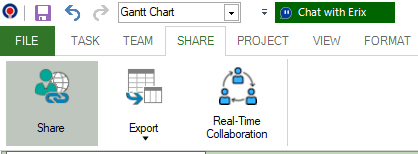
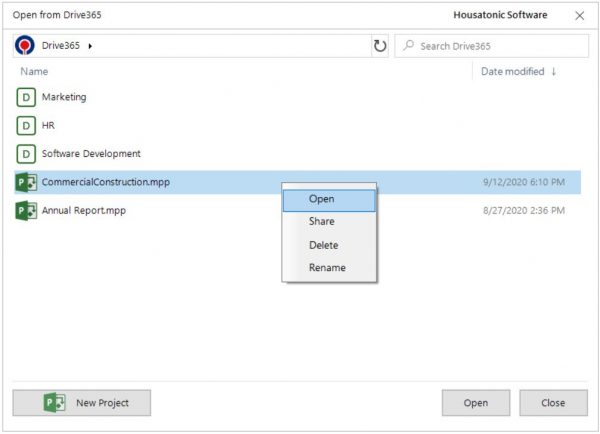
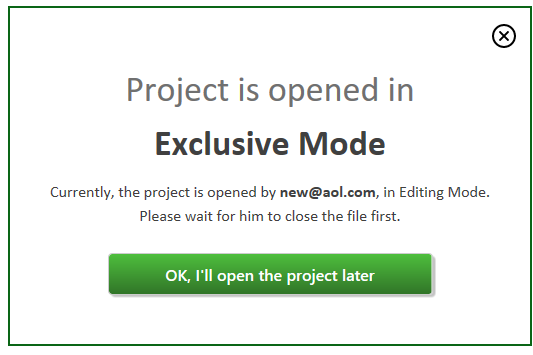
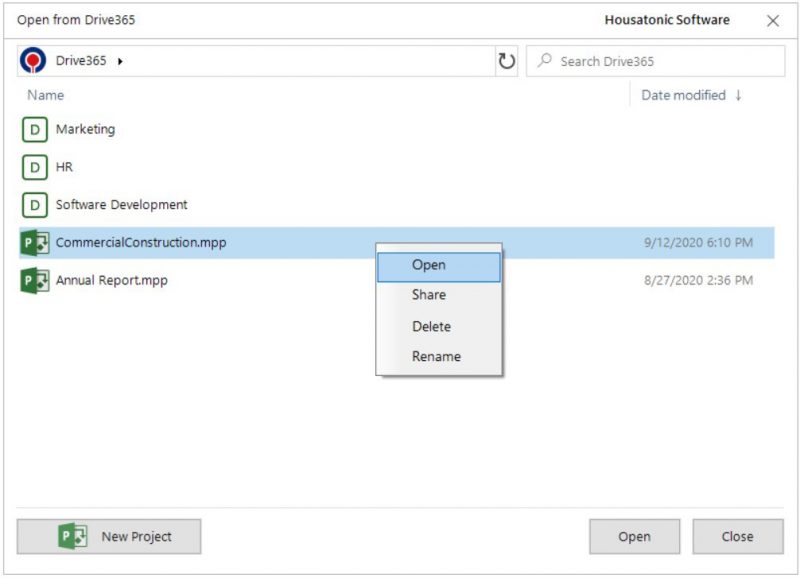
- Open the project from Drive 365. By default, the .MPP file will open in Exclusive Mode, and in order to collaborate with other team members, go to menu Share – Real-Time Collaboration.
- Also, you can share the link from your plan with other team members, by using the Share functionality from the Share menu.
Can I experience collaborative mode during the trial period?
In order to evaluate the real-time collaboration feature, please start a 14 days Business Trial on our Project Plan 365 Portal. Then, Sign In with your email and password inside the Project Plan 365 app and open a file previously saved in My Projects - Drive 365 cloud service. Then, enable the Collaboration by going to menu Share - Real-Time Collaboration.
What is the difference between Simple Collaboration and Real time Collaboration?
The difference between “Simple Sharing” and “Real-Time Collaboration” is that Real Time Collaboration is a feature available only for Business subscription, which allows the users the possibility to modify at the same time a file saved in Drive365. Any member of your organization that is in Collaboration mode can see in real time any modification made at that time by another member of the organization.
What does "Simple Collaboration" mean?
By “Simple Sharing and Collaboration” we are referring to the fact that with a Standard subscription you have access to Drive365 where you can save your projects, to which the members of your organization have access and can open, modify and save them. Also, you can share files saved in Drive365 with your team members.
What does "Real-Time Collaboration" mean?
Real Time Collaboration is a feature available only for Business subscription, which allows the users the possibility to modify at the same time a file saved in Drive365. Any member of your organization that is in Collaboration mode can see in real time any modification made at that time by another member of the organization.
Any team member can enter in exclusive or real-time collaboration mode?
Only the Editors can enter in Real-Time Collaboration mode. Read-Only team members are not able to open files on Drive 365 in either Exclusive or Real-Time Collaboration mode.
How do I use the Exclusive and Real-Time Collaboration modes?
There are two modes in which you can open a project from Drive 365: exclusive and real-time collaboration. In the exclusive mode, you are the only one who can edit the project if you are the first editor who opened it. If another editor wants to open the same file, he will have the possibility to edit the file in Read-Only Mode but cannot overwrite it. In real-time collaboration mode, multiple team members can make changes to the same project at the same time.
Only a team member with an Editor role can enter in exclusive or real-time collaboration mode.
As an editor, when opening a project from Drive 365, it will be automatically opened in Exclusive mode if the file is not opened in Exclusive mode by another team member.
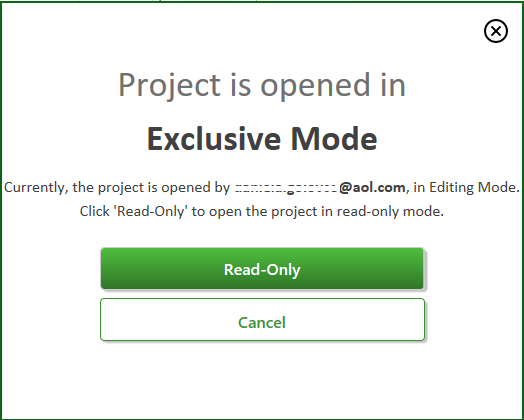
If the file is already opened in exclusive mode by another team member, you will receive the following message:“Currently the project is opened by … in Editing Mode. Click ‘Read-Only’ to open the file in read-only mode.” Click on the Read-Only button to open the project. You will be able to edit the file but won’t be able to save it over the original file from Drive 365, instead you can save it to a different storage location. Click on the Cancel button if you don’t want to open the project in Read-Only mode.
If the file is already opened in Real-Time Collaboration mode, you will automatically enter also in Collaboration mode.
How do I enter in Real-Time Collaboration mode?
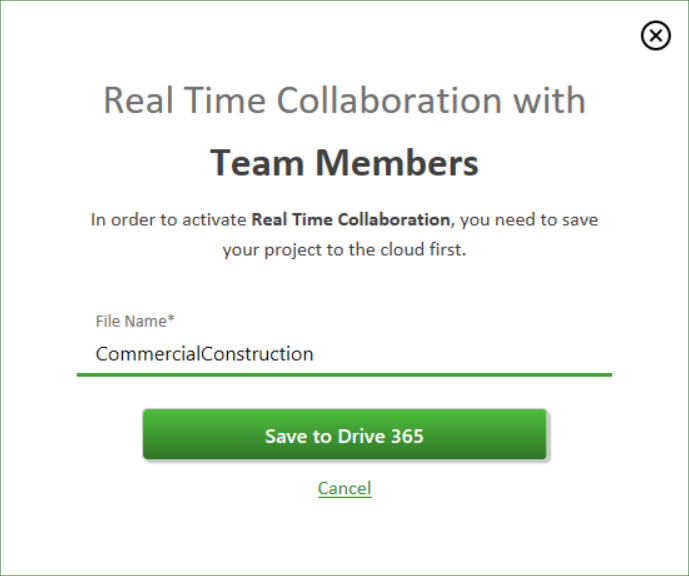
To enter in Real-Time Collaboration mode, first, you need to Sign In with your email and password inside Project Plan 365 app with an Editor account. Go to the menu Share – Real-Time Collaboration. If your file is not saved in Drive 365 cloud, you will be asked to save the file in Drive 365 and then the mpp file will be opened in Real-Time Collaboration mode.
Is the real-time collaboration feature available only for the Business Subscription or also with the Standard Subscription?
The real-time collaboration mode is available only with the Business Subscription. Each team member that needs to collaborate needs to have the Editor role inside the organization and must have access to that project (if the project belongs to a division).
How do I exit the Collaboration mode?
To exit the collaboration mode, you can close the file by going to menu File – Close, or press on the Exit button.
What is the maximum number of users that can be in Collaboration mode at the same time?
The maximum number of users that can be in collaboration mode at the same time is 10.
How do I see who else is viewing the project at the same time in Real-Time Collaboration?
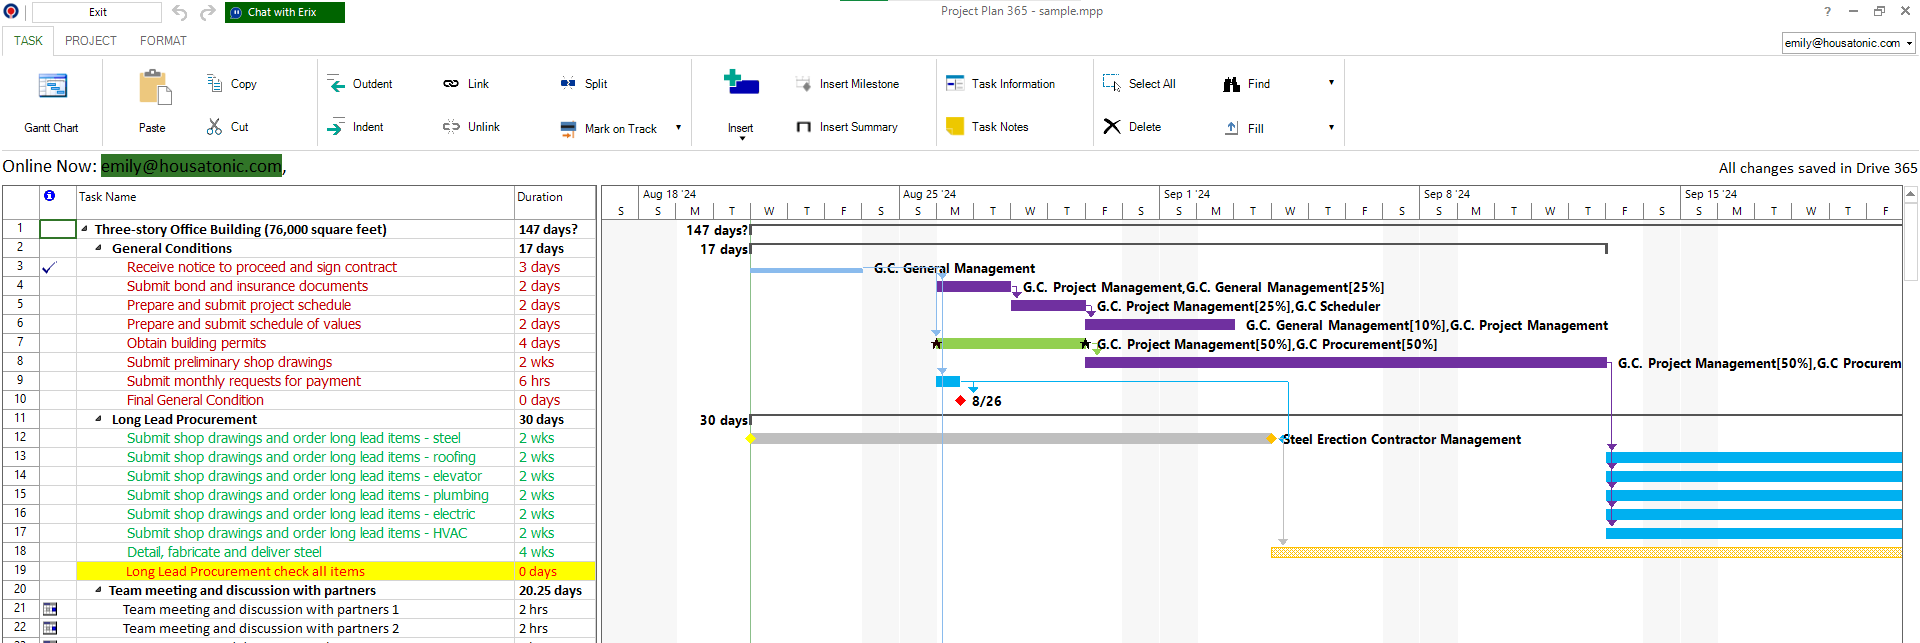
The list of users who are in real-time collaboration mode at the same time is shown above the grid.
How can I change the collaboration timeout?
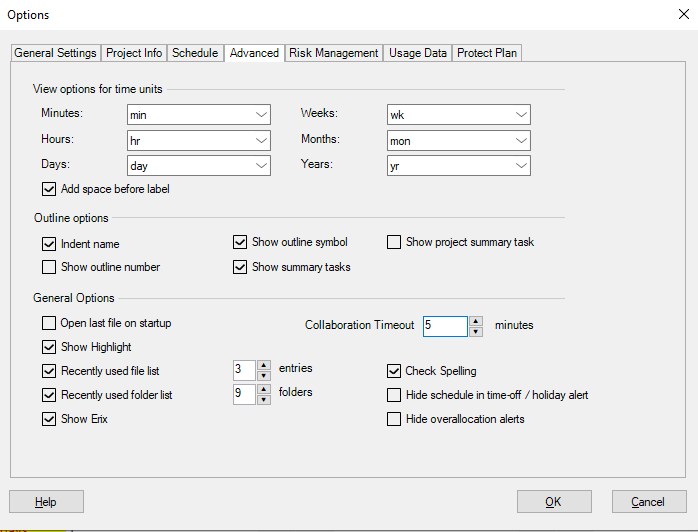
You can customize the inactivity period before the file in real-time collaboration mode closes. In order to do that, go to the File menu and select Options. Select the Advanced tab and from General Options, customize the Collaboration Timeout as you desire. For changes to take effect, click OK. The minimum value for the collaboration timeout option is 5 minutes and the maximum is 120 minutes.
Why I can't use the "Real time collaboration" feature?
You need a Business Subscription in order to use the "Real Time Collaboration" feature.
Can I format the rows in Real-Time Collaboration?
In order to format the rows in Real-Time Collaboration, select a task/multiple tasks or a cell/multiple cell, then go to the Format menu – Font option. Another way to access “Font” dialog is to select a task/multiple tasks or a cell/multiple cell, right click on them and from the contextual menu select "Font" option. A dialog will appear from which you can make the desired format changes.
I use the local installed program on my pc and sometimes the application disconnects from the project I work and I need to open that project again.
If you are disconnected when using the real-time collaboration, you can increase the time by going to menu File-Options and in Advanced tab increase the time for Collaboration Timeout.
How can team members work together on a project?
In order to allow multiple team members to work together on a project, they can use the Real Time Collaboration feature. To enter in Real-Time Collaboration mode, follow the steps below:
- First, you need to Sign In with your email and password inside Project Plan 365 app with an Editor account.
- Go to the menu Share – Real-Time Collaboration.
- If your file is not saved in Drive 365 cloud, you will be asked to save the file in Drive 365 and then the mpp file will be opened in Real-Time Collaboration mode.
How are files saved in Real-Time Collaboration?
The project will be saved automatically in Drive365 every time you make a change. The status of saving is shown in the top right corner. |
Step by step on how to setup the Collaboration mode on MPP file:
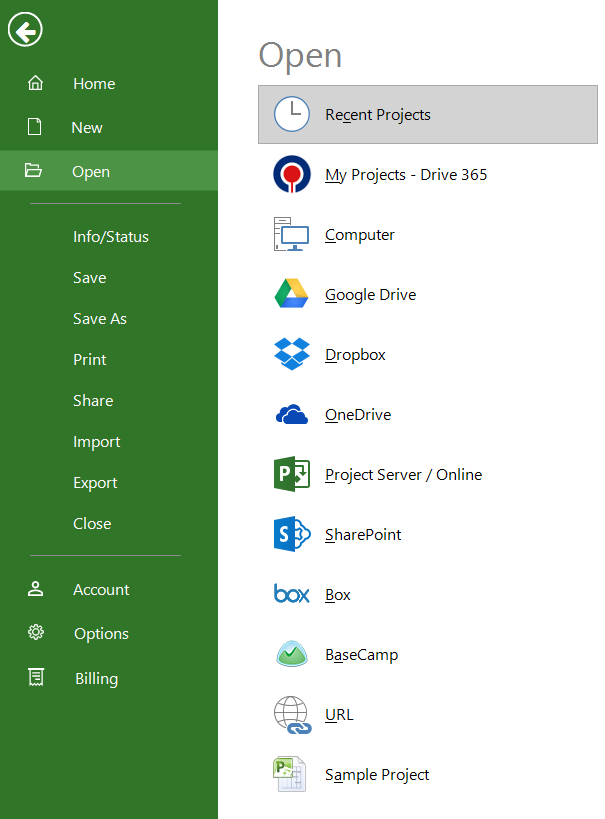
1. Open the MPP file that you want to collaborate on with other team members by going to File – Open and select the location where your file is saved.
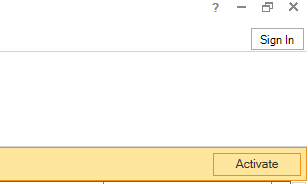
2. Sign In with an Editor account in Project Plan 365 app (look upper right corner for Sign In button).
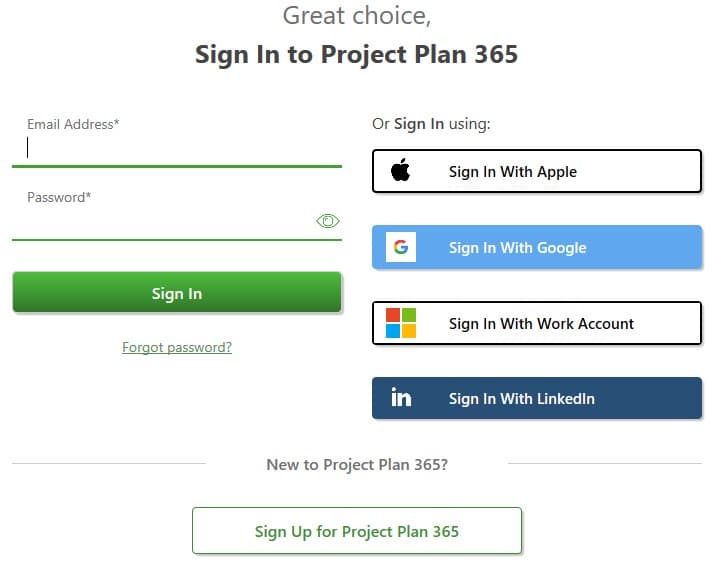
3. Enter your email address and password or Sign In with a third-party account.
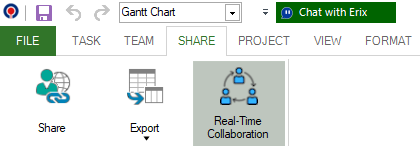
4. Go to menu Share – Real-Time Collaboration.
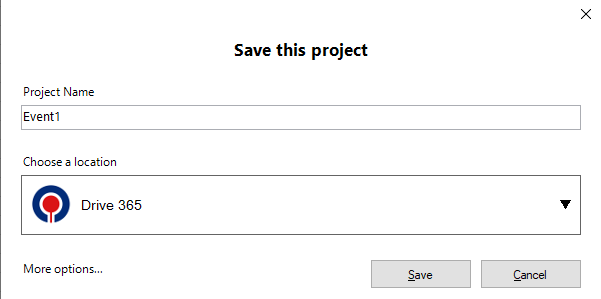
5. Insert the desired name and save the file in Drive 365 cloud service.
6. You can also select the Division where the project should be saved.

Now you are in Real-Time Collaboration.
7. You can go to the menu Share – Share in order to share the link from your plan with other team members. For more information on how to share your file, please read the following article: Share
Step by step on how the Exclusive and Real-Time Collaboration mode work:
1. Sign In with an Editor account inside Project Plan 365 app.
2. Open the desired MPP file from Drive 365 cloud.
3. When opening a project from Drive 365, it will be automatically opened in Exclusive mode if the file is not opened in Exclusive mode by another team member.
4. If the file is already opened in Real-Time Collaboration mode, you will automatically enter also in Real-Time Collaboration mode.
5. If the file is already opened in exclusive mode by another team member, you will receive “Currently the project is opened by … in Editing Mode. Click ‘Read-Only’ to open the file in read-only mode.” Click on the Read-Only button to open the project.
6. If you are on a Mac, iOS or Windows device you will receive the following message: “Currently the project is opened by … in Editing Mode. Click ‘Read-Only’ to open the file in read-only mode.” Click on the Read-Only button to open the project.
6. You will be able to edit the file but won’t be able to save it over the original file from Drive 365. When trying to save the file the following message will appear.
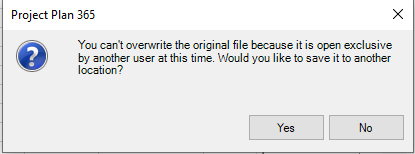
8. However, you are able to save it to any other storage location by clicking the Yes button or going to menu File – Save As.
Step by step on how to Enter in Real-Time Collaboration mode on MS Project files:
1. Sign In with an Editor account inside Project Plan 365 app.
2. Open the desired MPP file from Drive 365 by going to menu File - Open - My Projects - Drive 365.
3. Go to the menu Share – Real-Time Collaboration.
4. After entering in collaboration mode, your team members can edit in real-time the same project. The list of users that are in collaboration mode at the same time is shown above the grid. The maximum number of users that can be in collaboration mode is 10.
5. Each team member has a color assigned and you can see the selected cell of other team members. When a user starts editing a cell in the grid, the entire row containing that cell will be shown as gray for other users. When a row is gray, that row is being edited by another user.
6. The project will be saved automatically in Drive365 every time you make a change. The status of saving is shown in the top right corner.
7. After 5 minutes of not using the app, while in collaboration mode, a message will appear asking if you are still using the project. The message will remain on screen for 3 minutes. After the 3 minutes pass, the file will be closed and collaboration mode will be exited.
8. The value for the period of inactivity (5 minutes default) can be changed by going to menu File – Options. In Advanced tab enter the desired value in the Collaboration Timeout control. The value must be between 5 and 120 minutes.
In Collaborative mode, you can do the following:
The following actions are locally (they will not be propagated to other users):
- Outline (collapse/expand tasks)
- Sort
- Filter
- AutoFilter
- Table and insert/hide columns
- Zoom
- Critical Path
- Go To
- Scroll To
- Timescale
- Bar Styles
- Gridlines
- Layout
- Progress Lines